- Blog
- How to Take Photos of Used Cars to Increase Sales - A Practical Guide for Traders
How to Take Photos of Used Cars to Increase Sales - A Practical Guide for Traders
Our step-by-step guide on how to take great photos of used cars for your car dealership. Take professional photos for your car business and boost sales!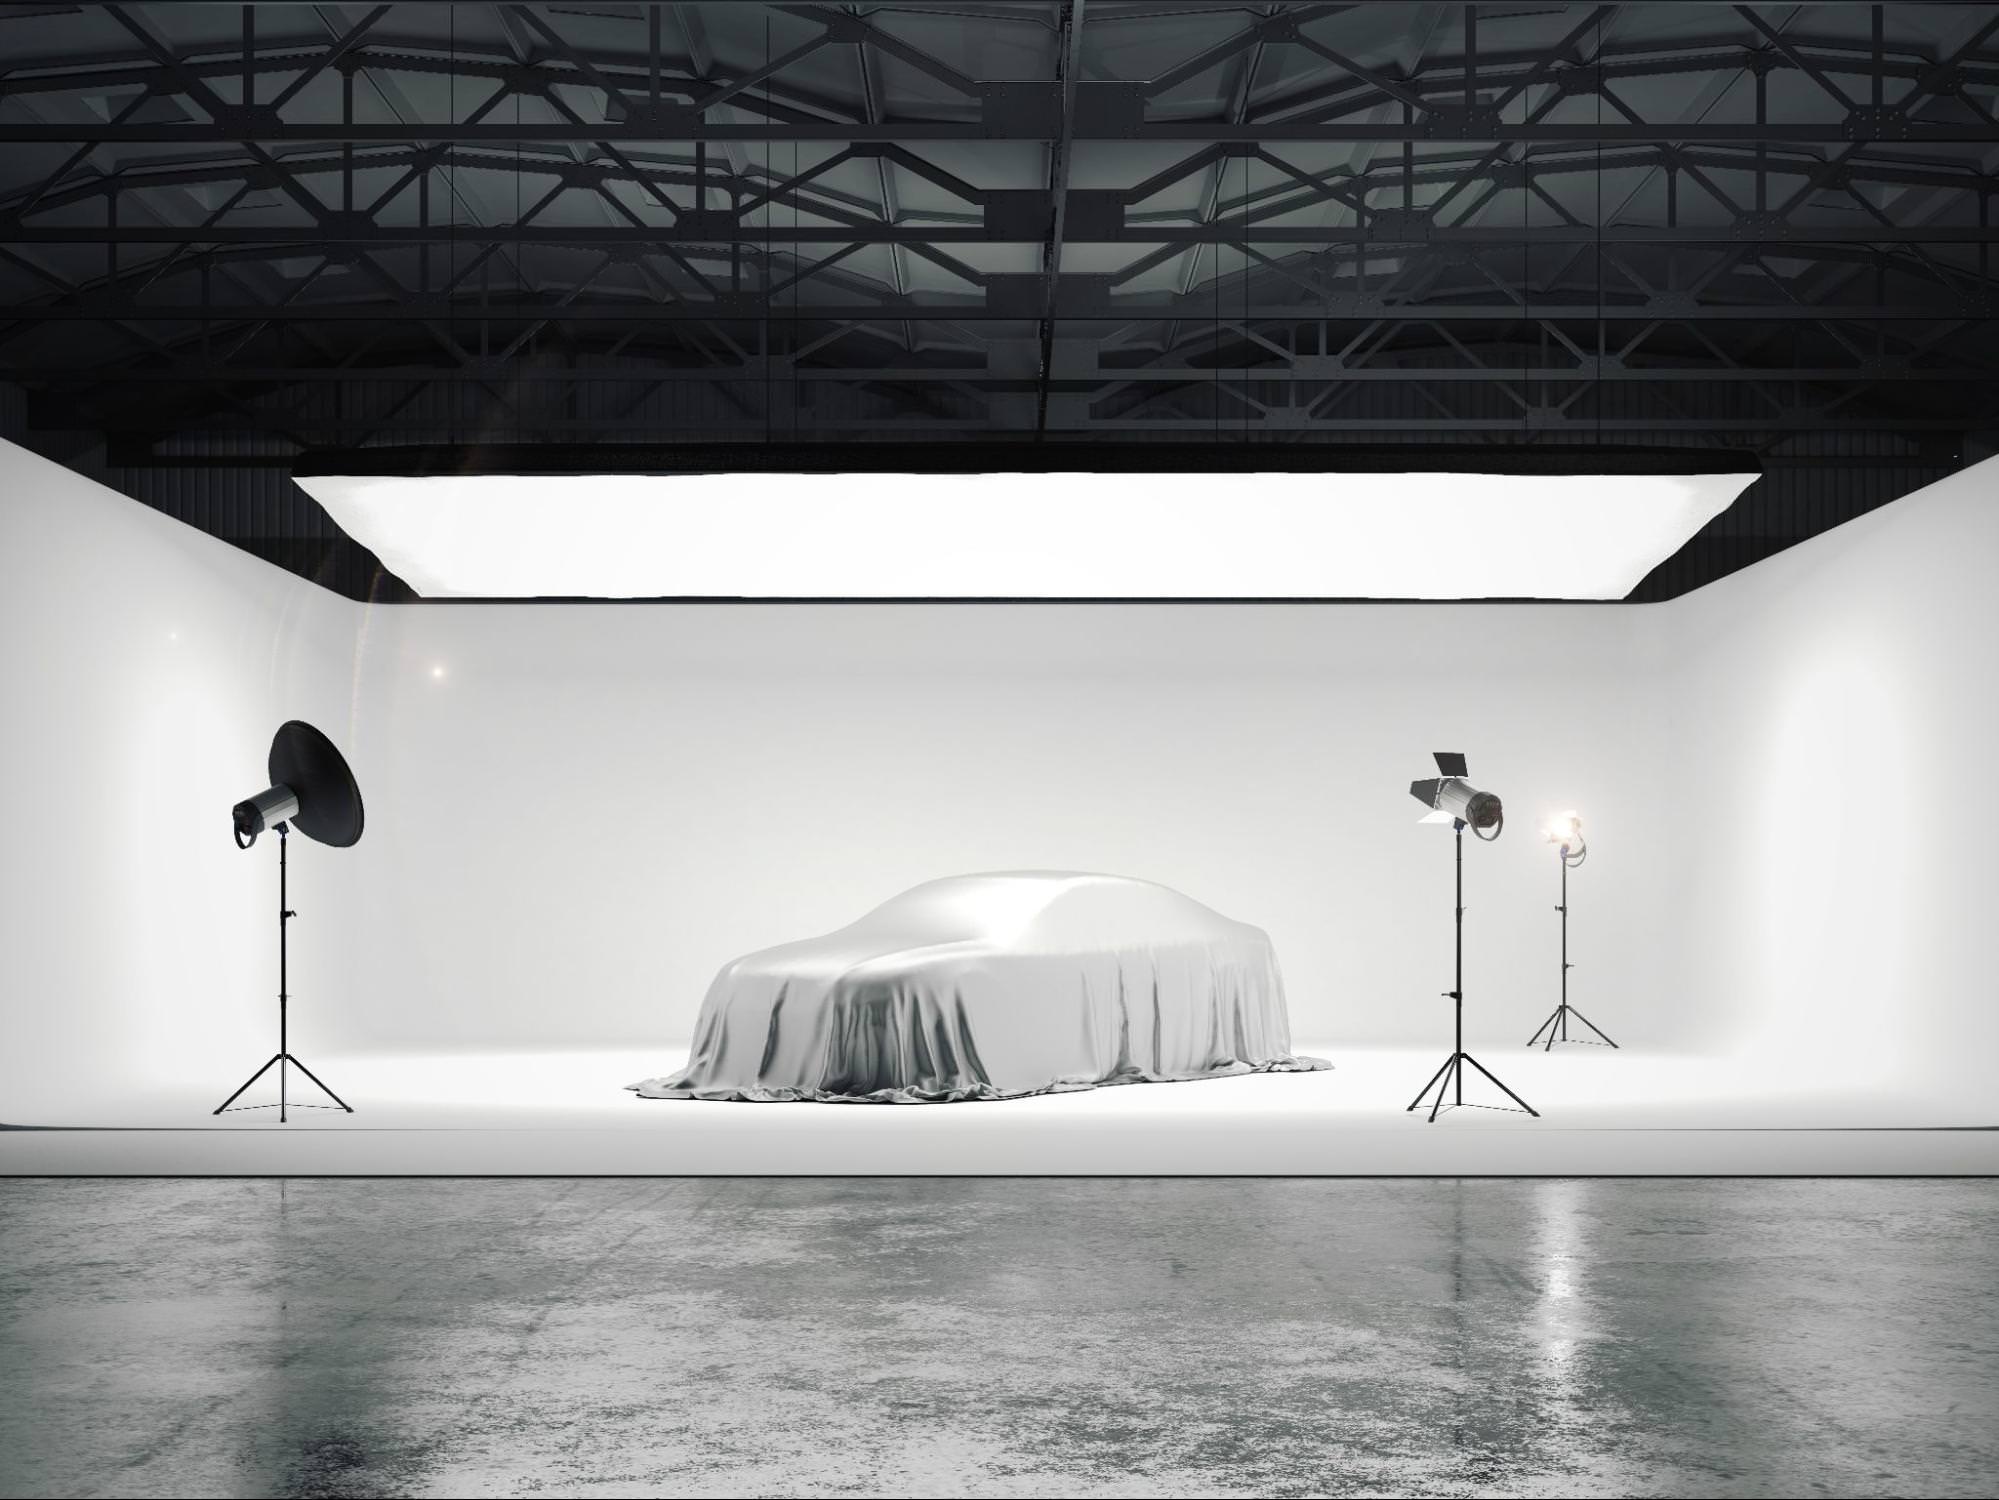
Key takeaways
- High-quality, well-lit photos build trust and help your listings stand out.
- Use a consistent photo checklist and the same shooting environment to maintain a professional look.
- Be transparent: always document damage or wear with close-ups to avoid surprises.
- Basic edits like adjusting brightness, contrast, or cropping are fine, but too much editing makes photos look unreliable.
- The hero shot (45° frontal) is your most important image.
High-quality car dealership photography plays a critical role in selling used cars. In a competitive market, clear and professional images can build trust, attract buyers, and increase sales.
Studies show that a big majority of buyers are influenced by photos when making a purchase—cars are no exception.
The good news? You don’t need expensive equipment to take professional car pictures. Whether you're using a DSLR, mirrorless camera, or a smartphone, following the right techniques will make a huge difference.
This step-by-step guide will teach you how to take photos of cars for sale, optimize your photo process, and present vehicles in a way that helps increase dealership sales.
How to Photograph Cars for Your Car Dealership
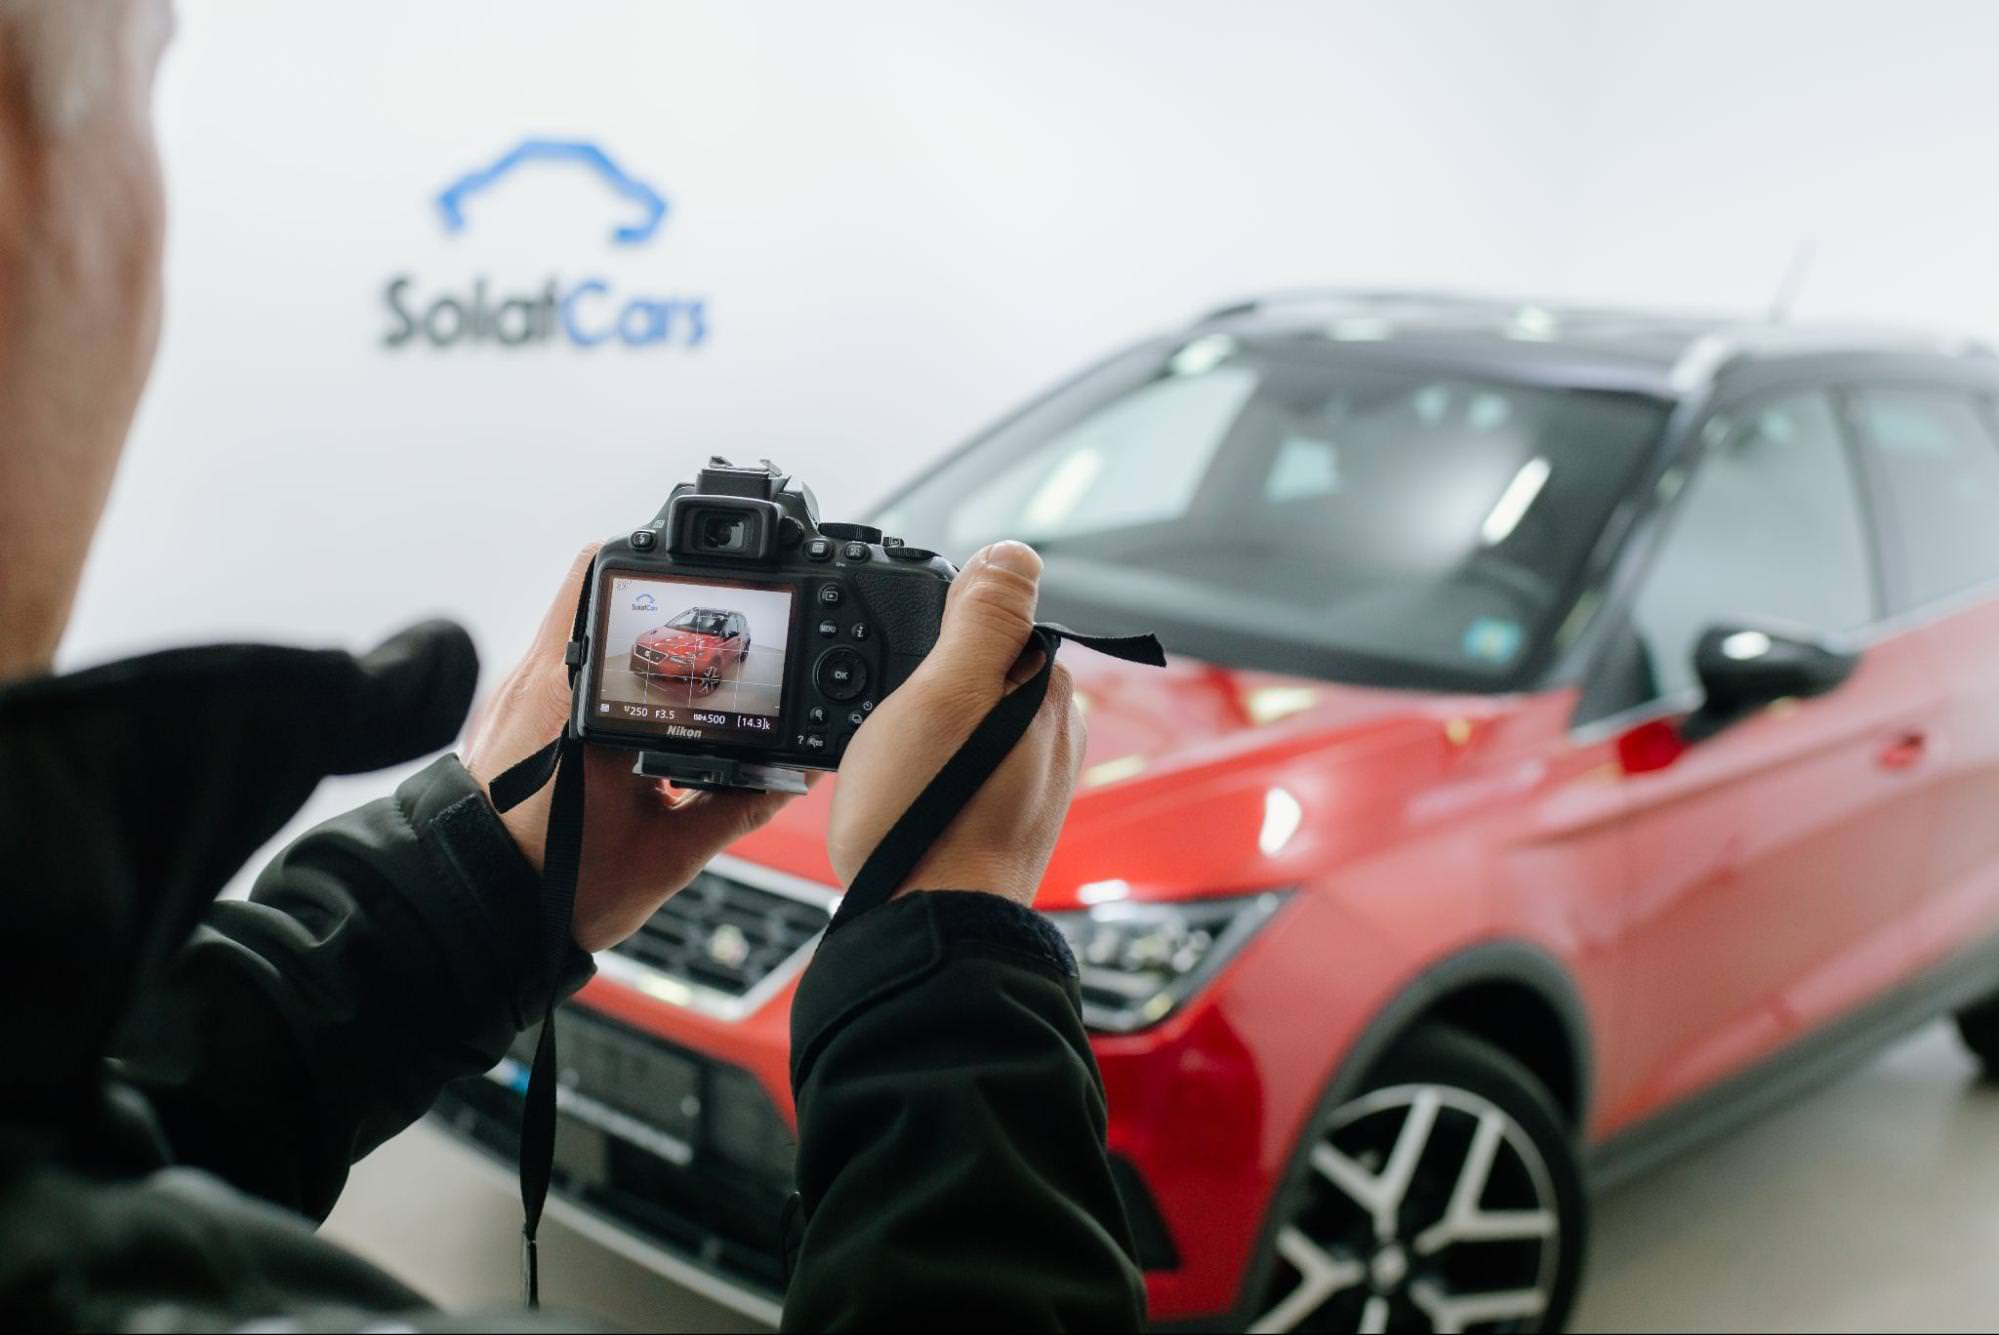
1. Invest in good camera equipment
The first step in automotive dealership photography is choosing the right camera or smartphone. A high-quality image makes a strong first impression and gives customers confidence in the condition of the car.
You can choose between:
- DSLR or mirrorless cameras – Look for models with at least 20 MP resolution from brands like Nikon, Canon, or Sony. If using just one lens, a 24-70mm or 15-45mm zoom lens is ideal for wide-angle shots and close-ups. These cameras offer more control over lighting, sharpness, and detail.
- Smartphones with multiple cameras – Modern smartphones are powerful enough for car showroom photography, offering wide-angle and detail shots without extra lenses. Features like portrait mode, HDR, and night mode help capture sharp images in different lighting conditions.
A smartphone’s advantage is its ease of use—quick switching between photo and video, instant file transfers, and a compact design make it convenient for photographing cars for a dealership.
Regardless of your choice, the goal is to capture high-quality, well-lit images that accurately show the car’s condition, earning you customer trust.
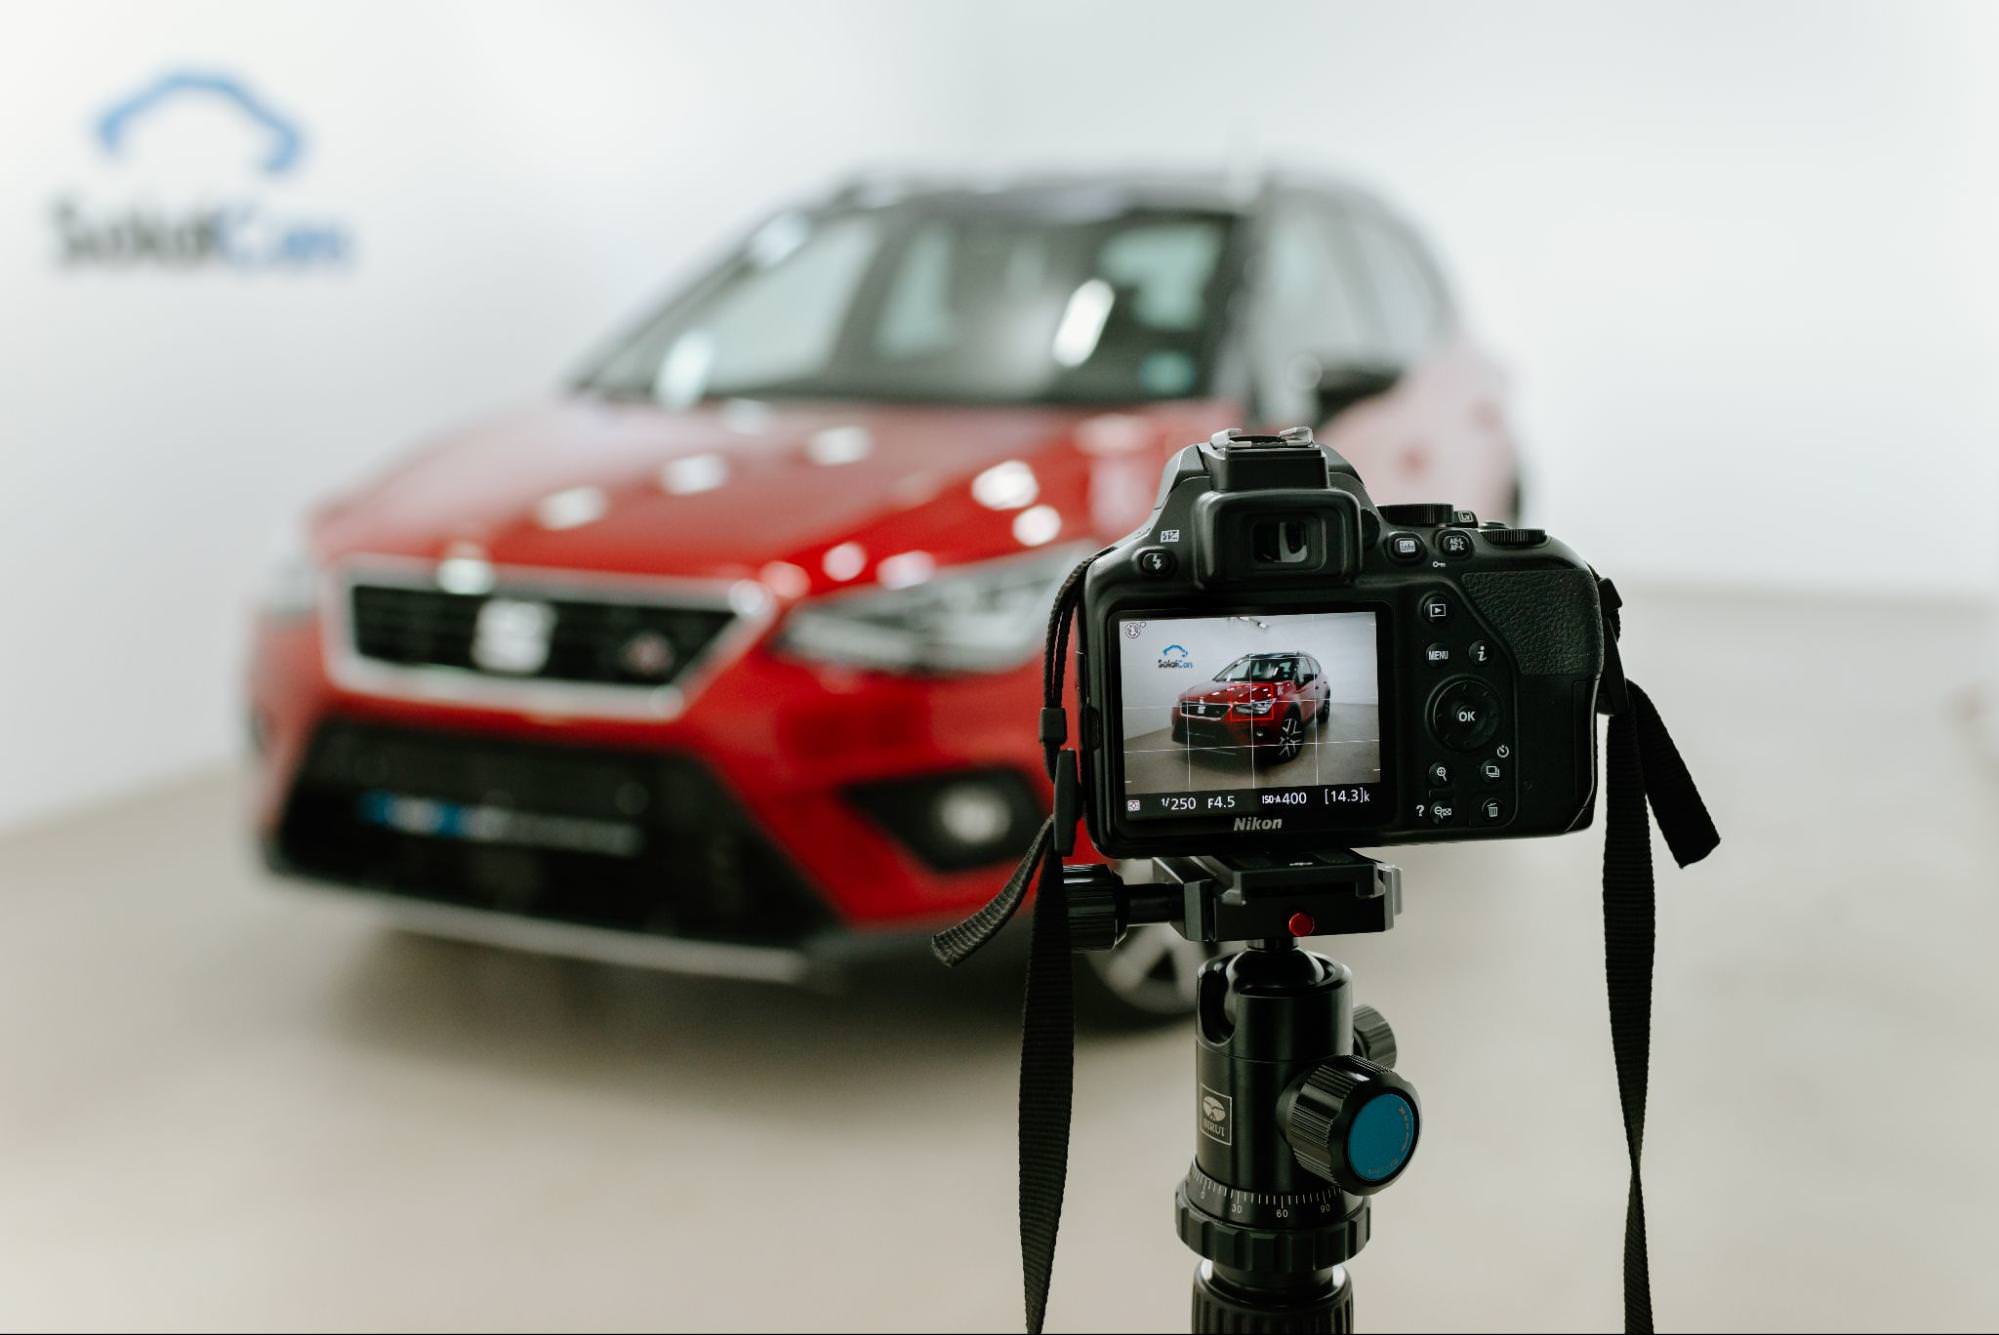
2. Use a tripod for stability
A tripod is a simple yet effective tool for improving car dealership pictures. It prevents blurriness, ensures consistent framing, and helps with 360-degree dealership photography.
Even affordable tripods (starting at €20) stabilize your shots, especially in low-light conditions or when capturing detailed interior shots. If using a smartphone, invest in a phone tripod with a remote shutter button to reduce hand movement when taking pictures.
Using a tripod creates a polished, professional look.
3. Select the right location for photos
A consistent and distraction-free location is essential for car photography for dealerships.
Your chosen space should make the car stand out clearly, without clutter or visual noise in the background.
- Outdoor setup: Choose an area with minimal distractions—no parked cars, power lines, or trash bins in the frame. Preferably, find a corner with tall neutral-colored walls. Some dealers prefer taking photos in front of their dealership logo for branding, but the background should remain clean.
- Indoor setup: If possible, create a simple car photo studio with white walls and continuous LED lighting for even brightness from all angles.
Consistency matters. Using the same location for every car ensures a cohesive look in your inventory, making your dealership's listings appear more professional and trustworthy.
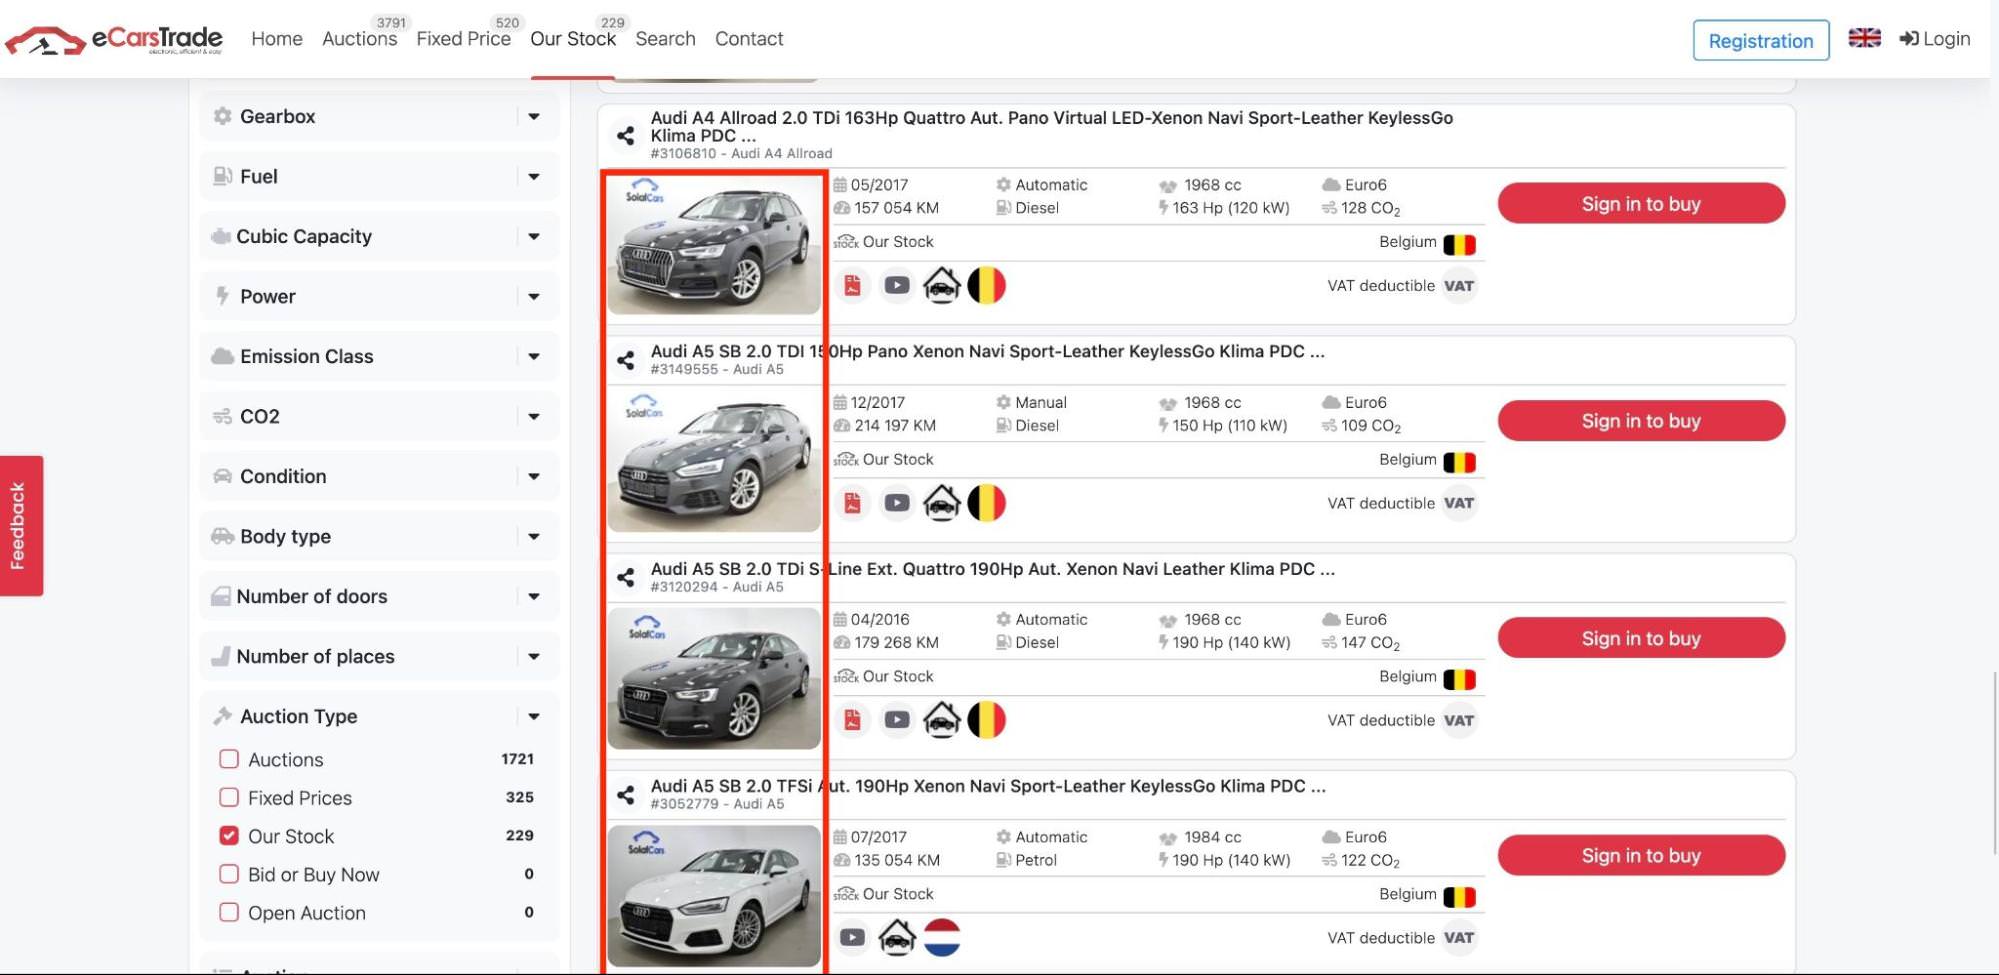
eCarsTrade car photo studio where we take all of the photos for Our Stock ourselves
4. Proper lighting is essential
Lighting plays a crucial role in automotive dealership photography.
A well-lit car appears clearer, more detailed, and more appealing, while poor lighting can cause harsh shadows, glare, or overexposure, making it harder for buyers to see important details.
- For outdoor photos, the best time to shoot is early morning or late afternoon, when the sun is lower and provides softer, more balanced light. Midday sunlight is too harsh, creating strong shadows and reflections that can obscure details.
- On cloudy days, the light is naturally diffused, reducing harsh contrasts and making it an ideal time for car lot photography.
- For indoor setups, use continuous LED lighting positioned around the car, including on the ceiling, to eliminate dark spots and ensure even illumination. Giving your walls a fresh coat of white paint will help bounce off any light that comes in and make your car well-lit from all sides.
To prevent glare and create softer, more even lighting, place a photography silk or diffusion sheet between the car and the lights. This helps distribute the light evenly and reduces harsh reflections on the car’s surface, making details clearer and the car’s finish look more natural.
5. Clean the vehicle
A clean car looks more professional and helps build trust with buyers.
Before taking photos, wash the exterior, polish reflective surfaces, and vacuum the interior. Wipe down the dashboard, screens, and seats to remove dust and fingerprints.
Pay attention to wheels and tires, as dirty rims can make even a well-maintained car look neglected.
Cleaning your cars will allow you to truthfully show and document all of the car’s damages, which is especially essential for car traders and other automotive professionals looking to sell their cars as fast and professional as possible.
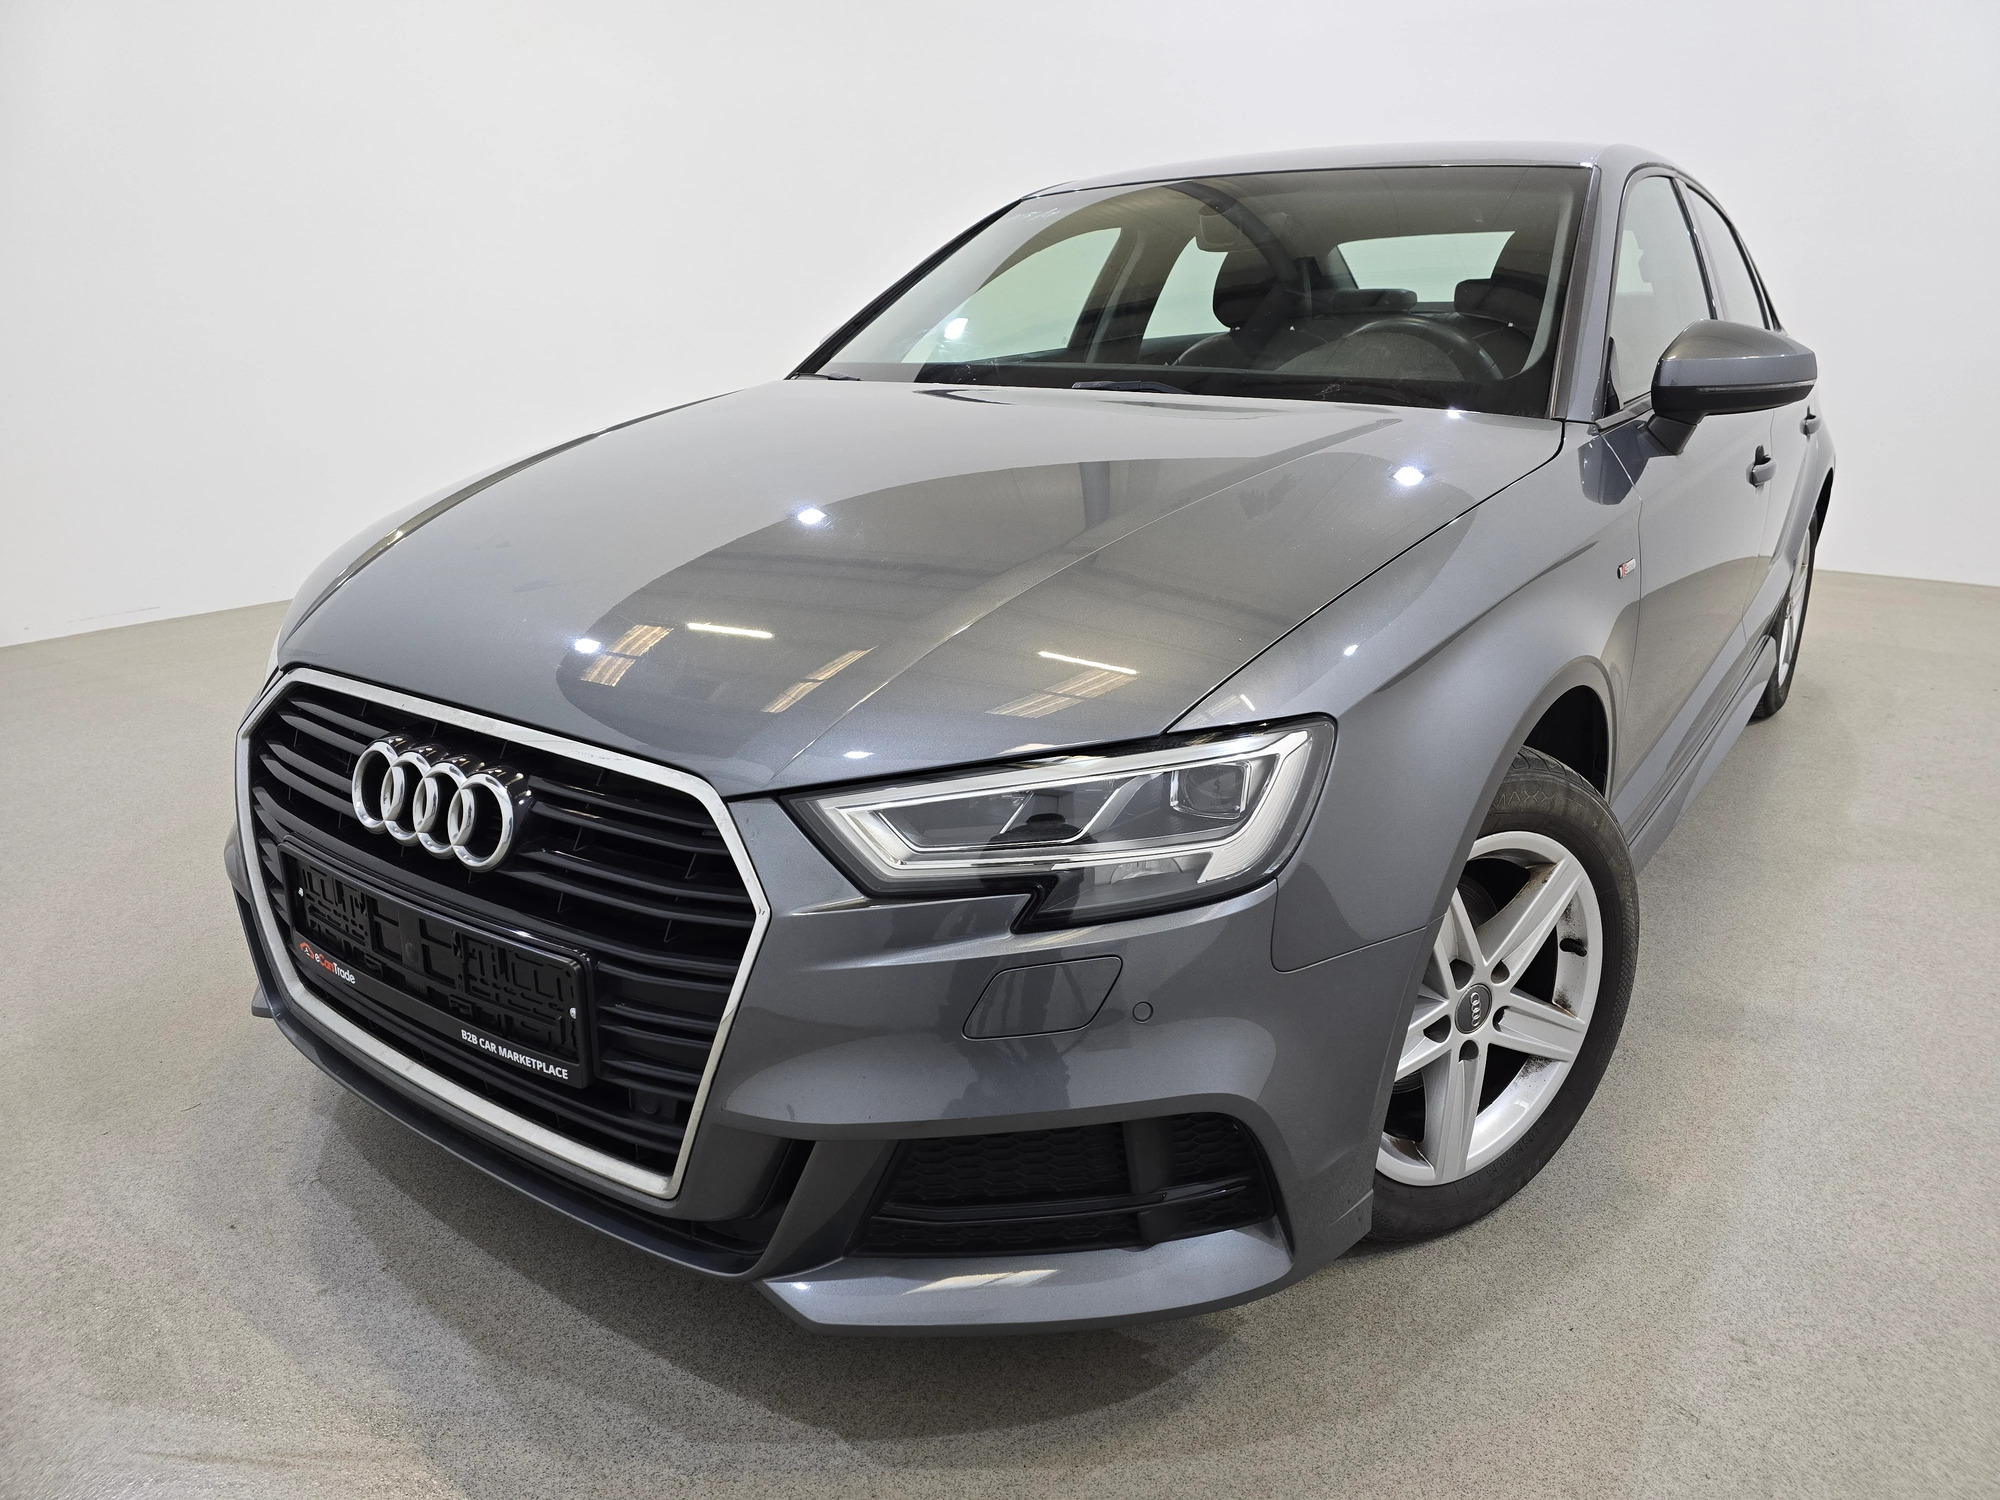
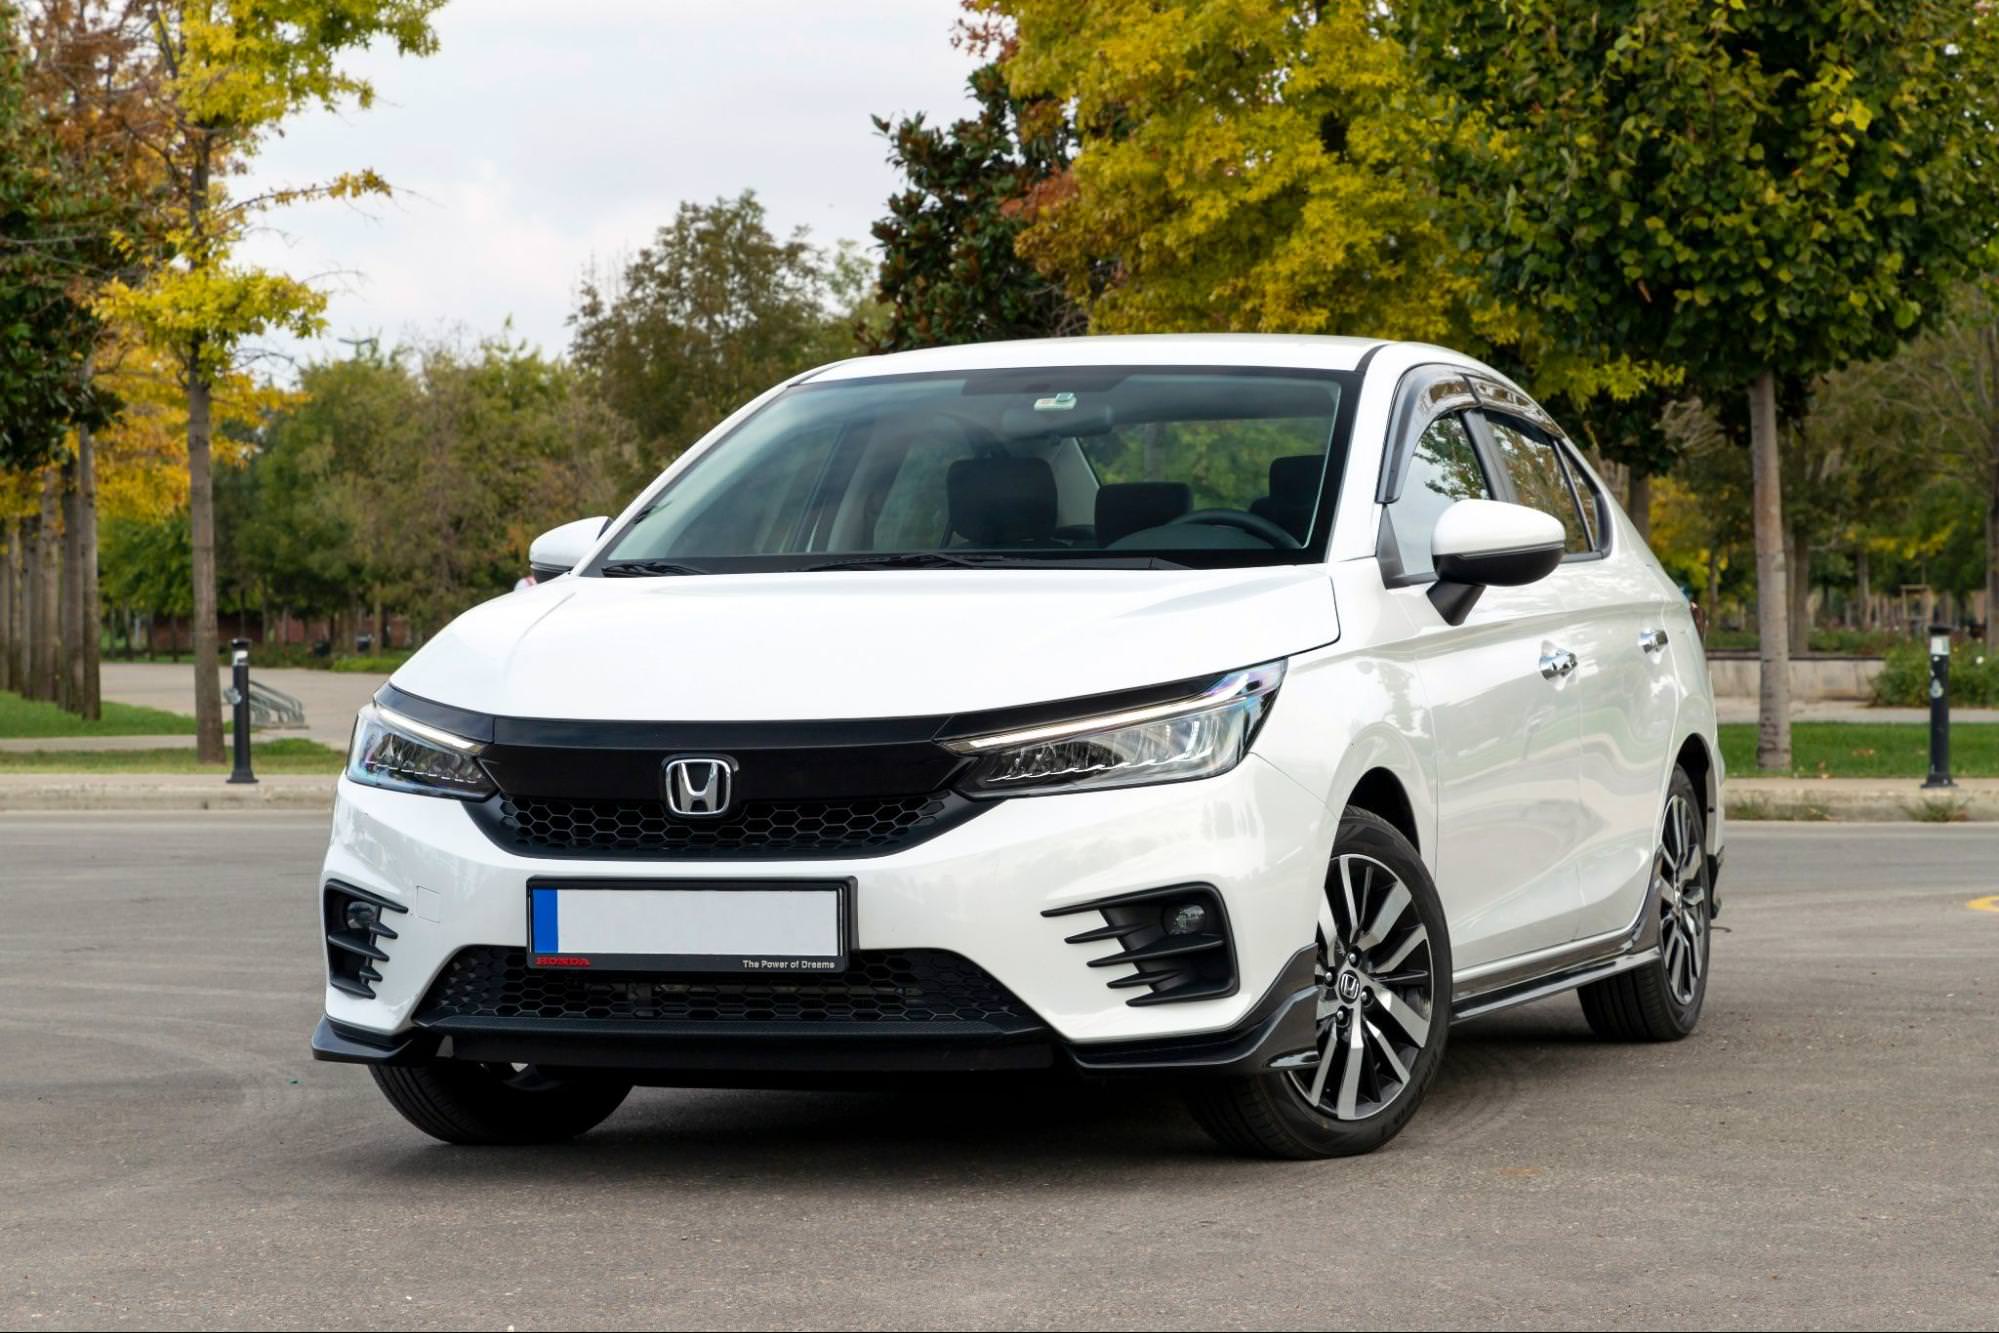
6. Choose the best “hero” photo
The hero photo is the first image buyers see, making it the most important shot.
A 45-degree left-side angle is widely used because it presents both the front and side profiles, creating a balanced and engaging view.
Why? The same reason why people prefer to read left-aligned text instead of right or center aligned. Our brains prefer things that are left-aligned, and the same goes for photos of cars. We recommend this angle and use it for all our vehicles at eCarsTrade too.
Position the car on a flat surface, ensure it’s fully visible in the frame, and turn the front wheels slightly to the right to showcase the alloy wheels.
7. Create a photo checklist
A structured approach ensures consistency across all listings. Creating a shot checklist helps you capture every key detail without missing anything.
Keep your shot checklist close to where you plan on photographing your vehicles. That way, you can always refer to the shotlist so that all your photo sets look coherent. For example, standard shots include:
- Hero photo (left frontal angle)
- 45-degree photo (right frontal angle)
- Straight photo from the front
- Straight photo of the side
- Close-ups of the dashboard
- Close-up of the wheels, etc.
There is so much to keep in mind when you’re photographing a car, so it’s easy to forget something. A shotlist will prevent you from forgetting any important photos.

8. Capture every detail
Buyers rely on detailed photos to assess a car’s condition.
Start with essential exterior shots, including the front, rear, and side views.
Move to the interior, capturing the dashboard, infotainment system, seats, and trunk space.
Take close-ups of key features like the odometer, steering wheel controls, and digital displays. If the car has unique features, such as a sunroof or advanced safety systems, highlight them.
You can also include a photo of the car’s available documents and keys. For example, here at eCarsTrade, if the car has a Certificate of Conformity, we show it in the photos.
This way, our clients learn to trust our photos as a truthful and valid source of information. As a trader, make your photos as detailed as possible, so that you can make the purchasing process easier for your clients.
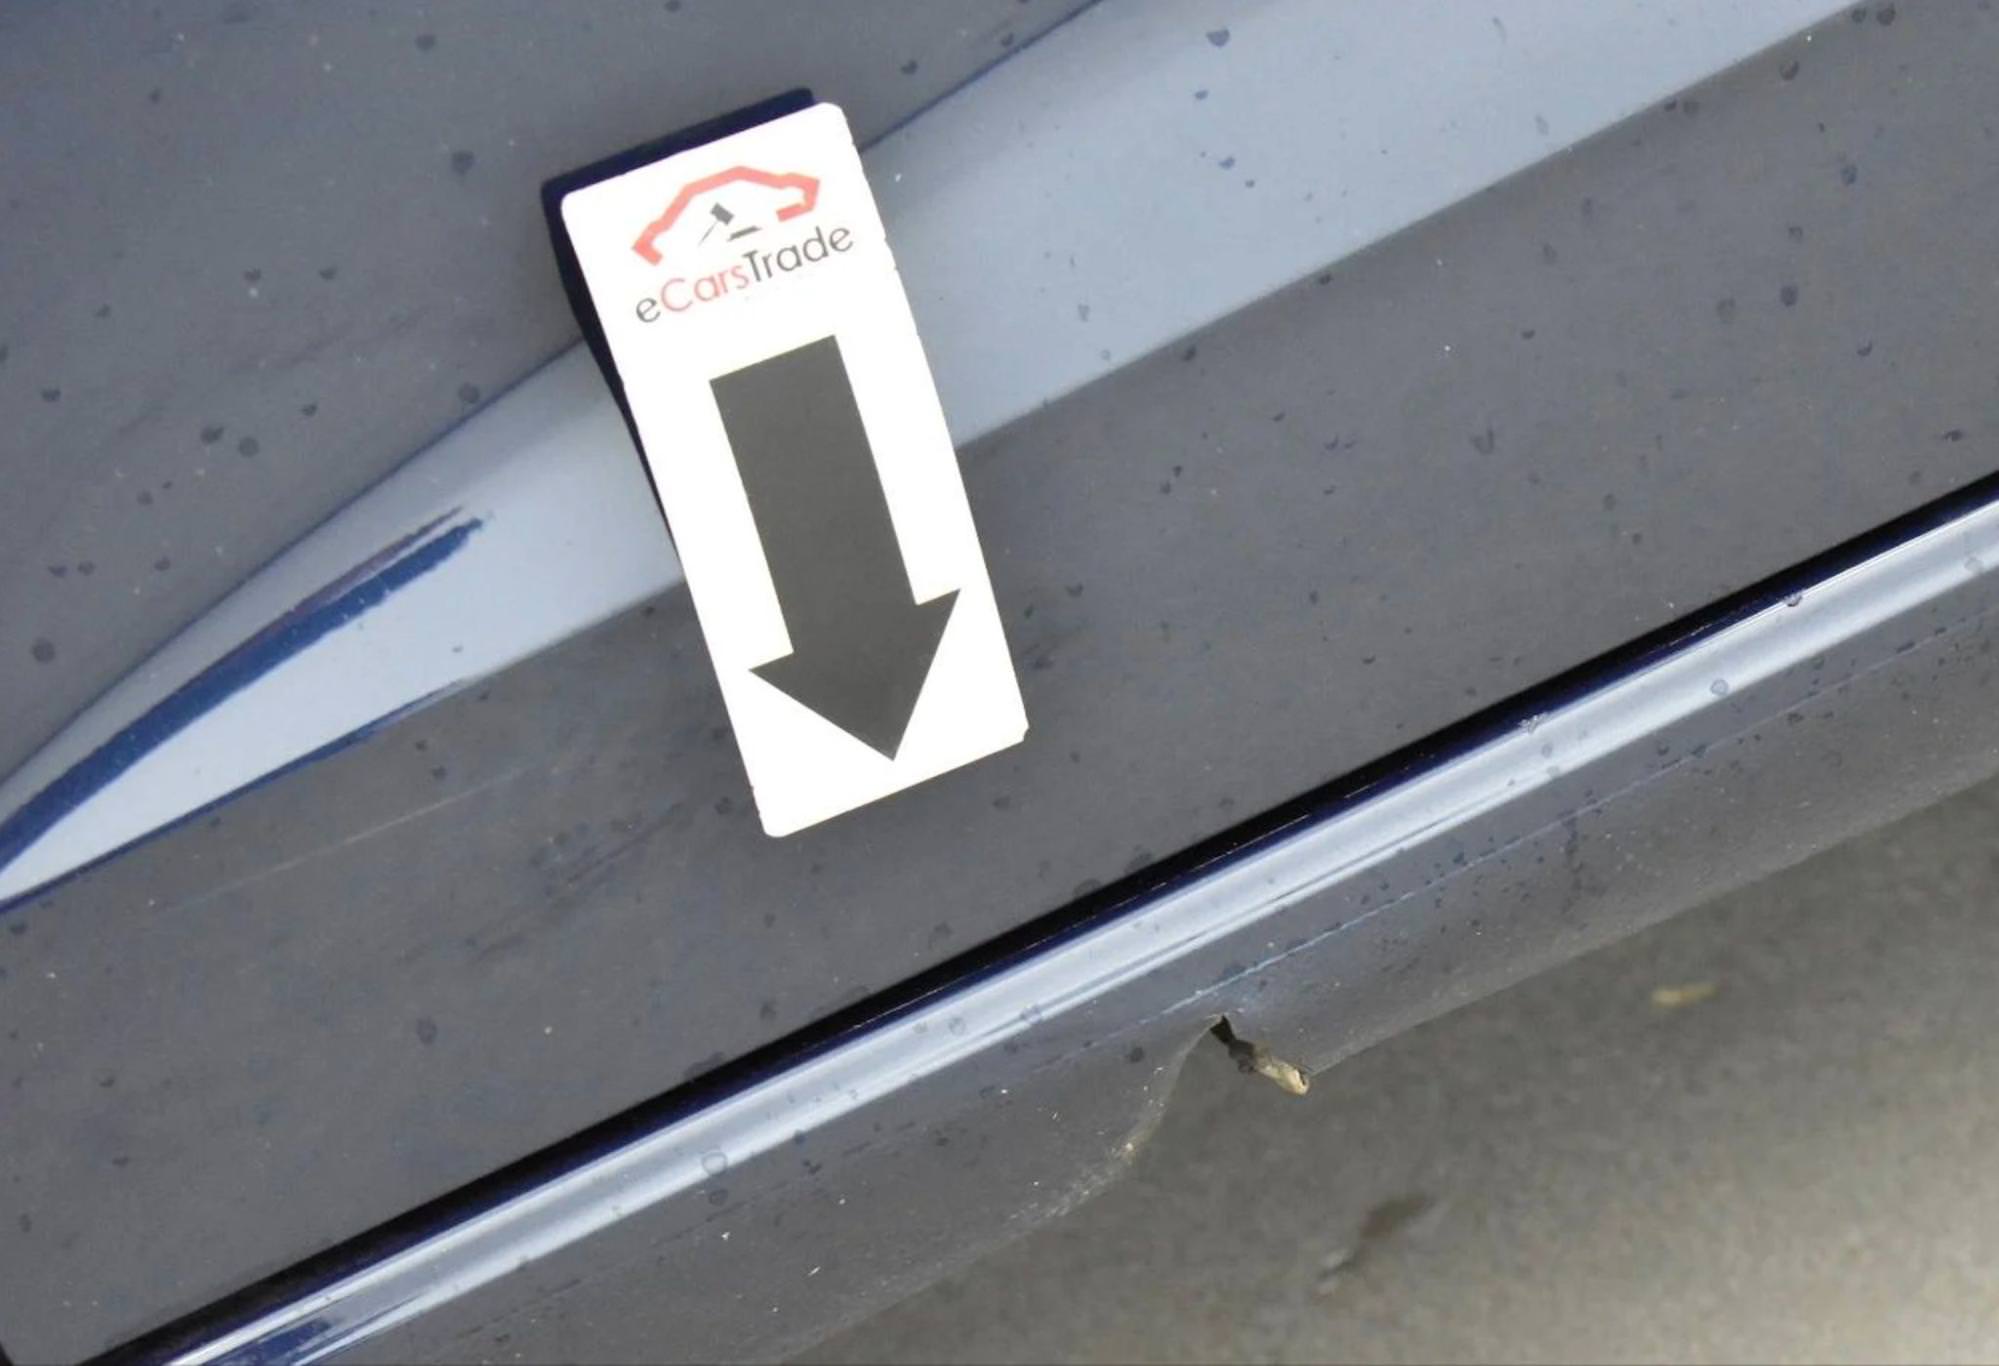
9. Document any damage clearly
One of the biggest mistakes in car dealership photography is failing to show scratches, dents, or wear. Hiding imperfections can lead to lost trust and customer complaints, especially for online buyers who depend on transparent listings.
- Use printed markers or stickers to point out scratches, dents, or wear.
- Take close-up photos of any damage, ensuring it is visible and well-lit.
- Photograph paint chips, upholstery wear, dashboard scuffs, or any other visible flaws.
Being honest about imperfections increases buyer confidence and reduces post-sale disputes. Customers appreciate dealerships that provide full disclosure about a car’s condition.
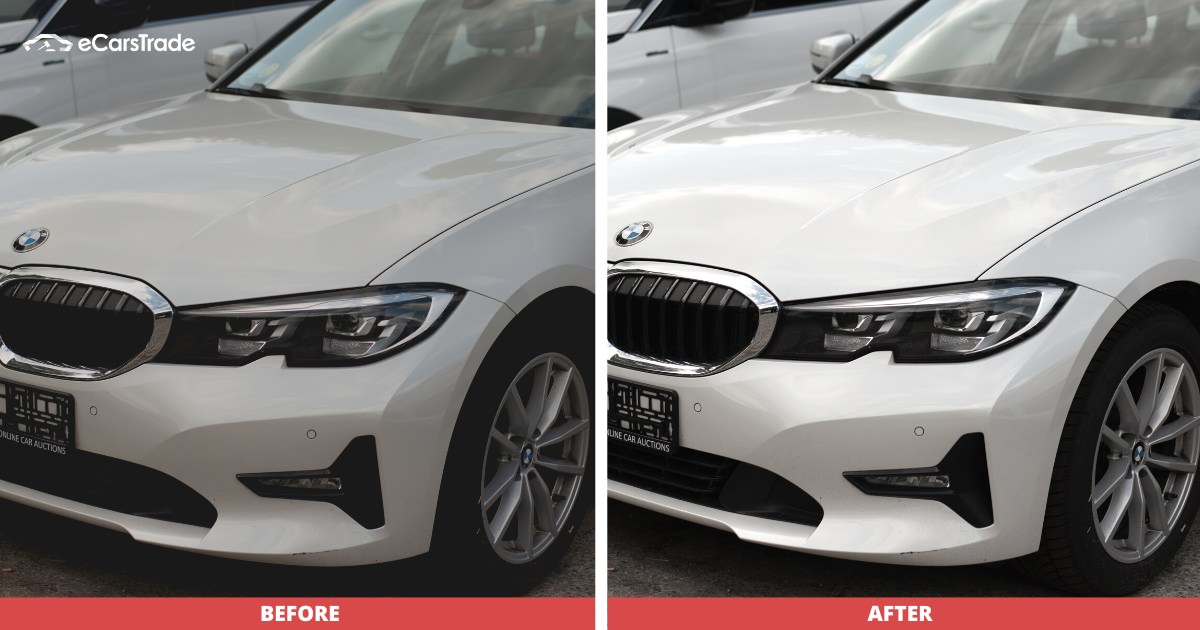
10. Learn basic editing for professional results
Even the best photos sometimes need minor adjustments to improve clarity and brightness.
Simple editing tools can help refine your images while keeping them realistic.
Free or easy-to-use apps like Pixlr, Snapseed, or Afterlight can help you:
- Brighten underexposed images to make details clearer.
- Adjust contrast and sharpness to enhance textures.
- Correct white balance for accurate colors.
- Crop distractions without cutting off essential parts of the vehicle.
Avoid excessive editing—your goal is to present realistic, accurate images, not to make the car look better than it actually is. Buyers will appreciate authentic, high-quality photos over heavily altered ones.
Other ideas for dealership photoshoots
High-quality car dealership photography isn’t just for product listings—it’s also essential for social media engagement, marketing campaigns, and dealership events.
Here are the best ways to optimize your photos for different platforms.
For social media posts
Social media is all about capturing attention quickly. To make your car dealership pictures stand out:
- Use interesting angles and dynamic shots to showcase vehicles in an engaging way.
- Capture lifestyle shots—photos of cars in real-world settings like scenic roads, urban environments, or family-friendly locations.
- Include behind-the-scenes photos of your dealership, team, or the car preparation process to build trust with potential buyers.
- Experiment with 360-degree dealership photography and short videos to offer interactive views.
- Add text overlays highlighting key features, promotions, or special offers.
Tip: Posts with people tend to perform better. Consider showcasing staff members handing over car keys to happy customers or interacting with vehicles.
For events
Events are a great opportunity to capture engaging content that builds excitement around your dealership.
- Take wide-angle shots of the venue, capturing the full setup.
- Showcase new arrivals, test drive experiences, and customer interactions.
- If hosting a special promotion or giveaway, take photos of winners and key moments.
- Use branded elements in your images, such as banners, dealership logos, or signage, to reinforce brand identity.
Tip: Post event recaps on your website and social media, using photos to highlight key moments and create long-term engagement.
Mistakes you’re probably making with car photos
Even with the best car dealership photography tips, common mistakes can reduce the quality of your listings. Here’s what to avoid.
Shooting in the evening
Evening shots may look stylish but often result in poor lighting, heavy shadows, and grainy images. Low-light conditions make car colors appear dull and hide important details buyers want to see.
Solution: Shoot during early morning or late afternoon for the best natural light, if you're taking photos outdoors. If you're taking photos indoors, use continuous LED lighting and photography silk to diffuse the light evenly.
Over-editing photos
Excessive editing can make cars look unrealistic, leading to buyer distrust. Over-saturated colors, excessive contrast, or artificial blurring can misrepresent the vehicle’s actual condition.
Solution: Use light corrections only—adjust brightness, contrast, and white balance to match real-life colors. Avoid filters that alter the car’s actual appearance.
Cluttered backgrounds
A messy background can distract from the vehicle and make your listing look unprofessional. Other parked cars, power lines, trash bins, and dealership signage can take the focus away from the car you’re trying to sell.
Solution: Choose a clean, neutral location with minimal distractions. If shooting outdoors, find a blank wall, an open lot, or a dedicated dealership area with proper framing. For indoor photos, use a white backdrop or dedicated showroom space to maintain consistency.
Ignoring interior shots
Many dealerships focus only on exterior photos, leaving buyers guessing about the condition and features of the interior. Missing key shots like the dashboard, infotainment system, seats, and odometer reading makes your listing incomplete.
Solution: Always include detailed interior photos that show the dashboard, buttons, digital displays, seats, and cargo space. Highlight special features like heated seats, navigation systems, and sunroofs. Buyers appreciate transparency and a full view of the vehicle.
Not documenting damages
Failing to highlight scratches, dents, or wear can lead to buyer complaints and disputes. Customers expect honesty, and trying to hide imperfections can damage your dealership’s reputation.
Solution: Clearly photograph any visible damage and use printed markers or arrows to point out problem areas. Include close-up images of dents, paint chips, upholstery wear, or dashboard scuffs. Transparency builds trust and makes buyers feel more confident in their purchase.
How to take pictures of cars and increase sales
Great car dealership photography isn’t just about aesthetics—it directly influences buyer confidence and sales performance.
High-quality photos will build customer trust, boost sales and even give you a competitive edge over other dealerships.
We strongly believe that having amazing photos that reflect the car’s features and condition can be even better than seeing the car in person.
By highlighting every single detail in videos and photos, we make sure nothing gets overlooked and you can make a fully-informed decision before purchasing.
We hope these steps will help you perfect your photo-taking skills and take your business to the next level!
FAQ
► How many photos should I include in a car listing?
You should include at least 15–25 photos. Show all major exterior angles, the interior, and close-ups of features or damage.
► Which car angles are most important for buyers?
The most important are the 45° front (hero shot), straight front, rear, and side views, three-quarter rear view, plus clear photos of the dashboard, seats, trunk, and details inside.
► What are the most common mistakes in car photos?
Common mistakes include taking photos in harsh light, forgetting interior shots, over-editing, using messy backgrounds, or hiding damage.
► How can I make photos of older cars look better?
Clean and detail the car, use soft and even lighting, highlight unique details, crop out distractions, and show wear honestly to build trust.
► Do professional photos help sell cars faster?
Yes. Clear and professional photos make buyers more confident, reduce questions, and usually lead to faster sales.
eCarsTrade is not just an online auction platform - we are also a valuable resource for car dealers and traders. Our blog offers expert advice on various topics, including: