- Blog
- 7 Tips on How to Repair Minor Car Damage
7 Tips on How to Repair Minor Car Damage
Selling a car with repaired minor damages can increase your profit. Read our guide on how to do minor car repairs with damages such as scratches, dents, and cracks.
Buying a damaged car and repairing it yourself can be a great way to increase your profit margins.
Scratches, dents, textile or leather damages, etc. - these are all damages to which you can easily find a DIY solution, save money, and increase your sales. All you need are a handful of tools and some patience.
Before you start getting your hands dirty, let’s look at some of the most common minor damages and what you can do to fix them yourself.
Most common minor car damages and fixing them yourself
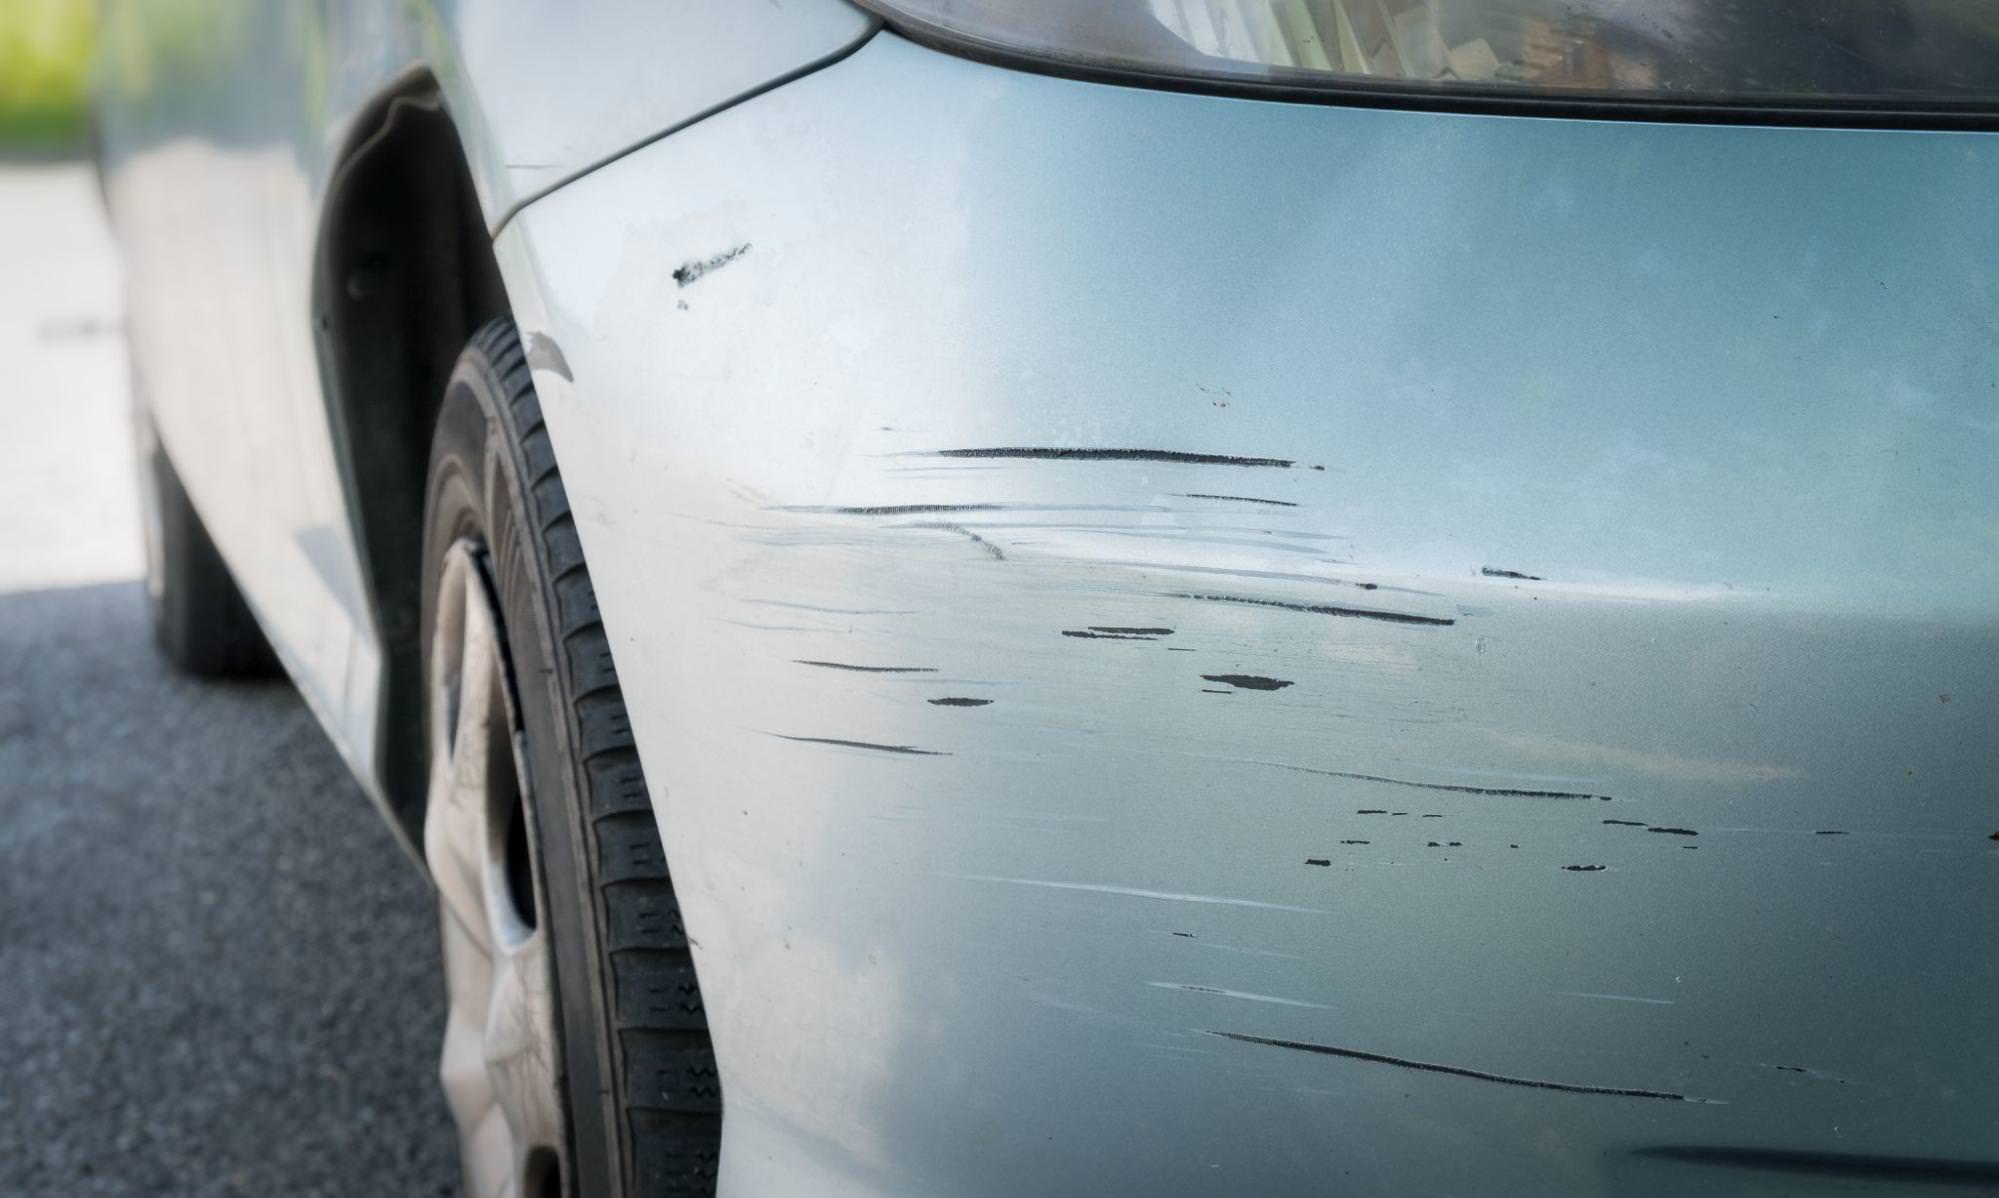
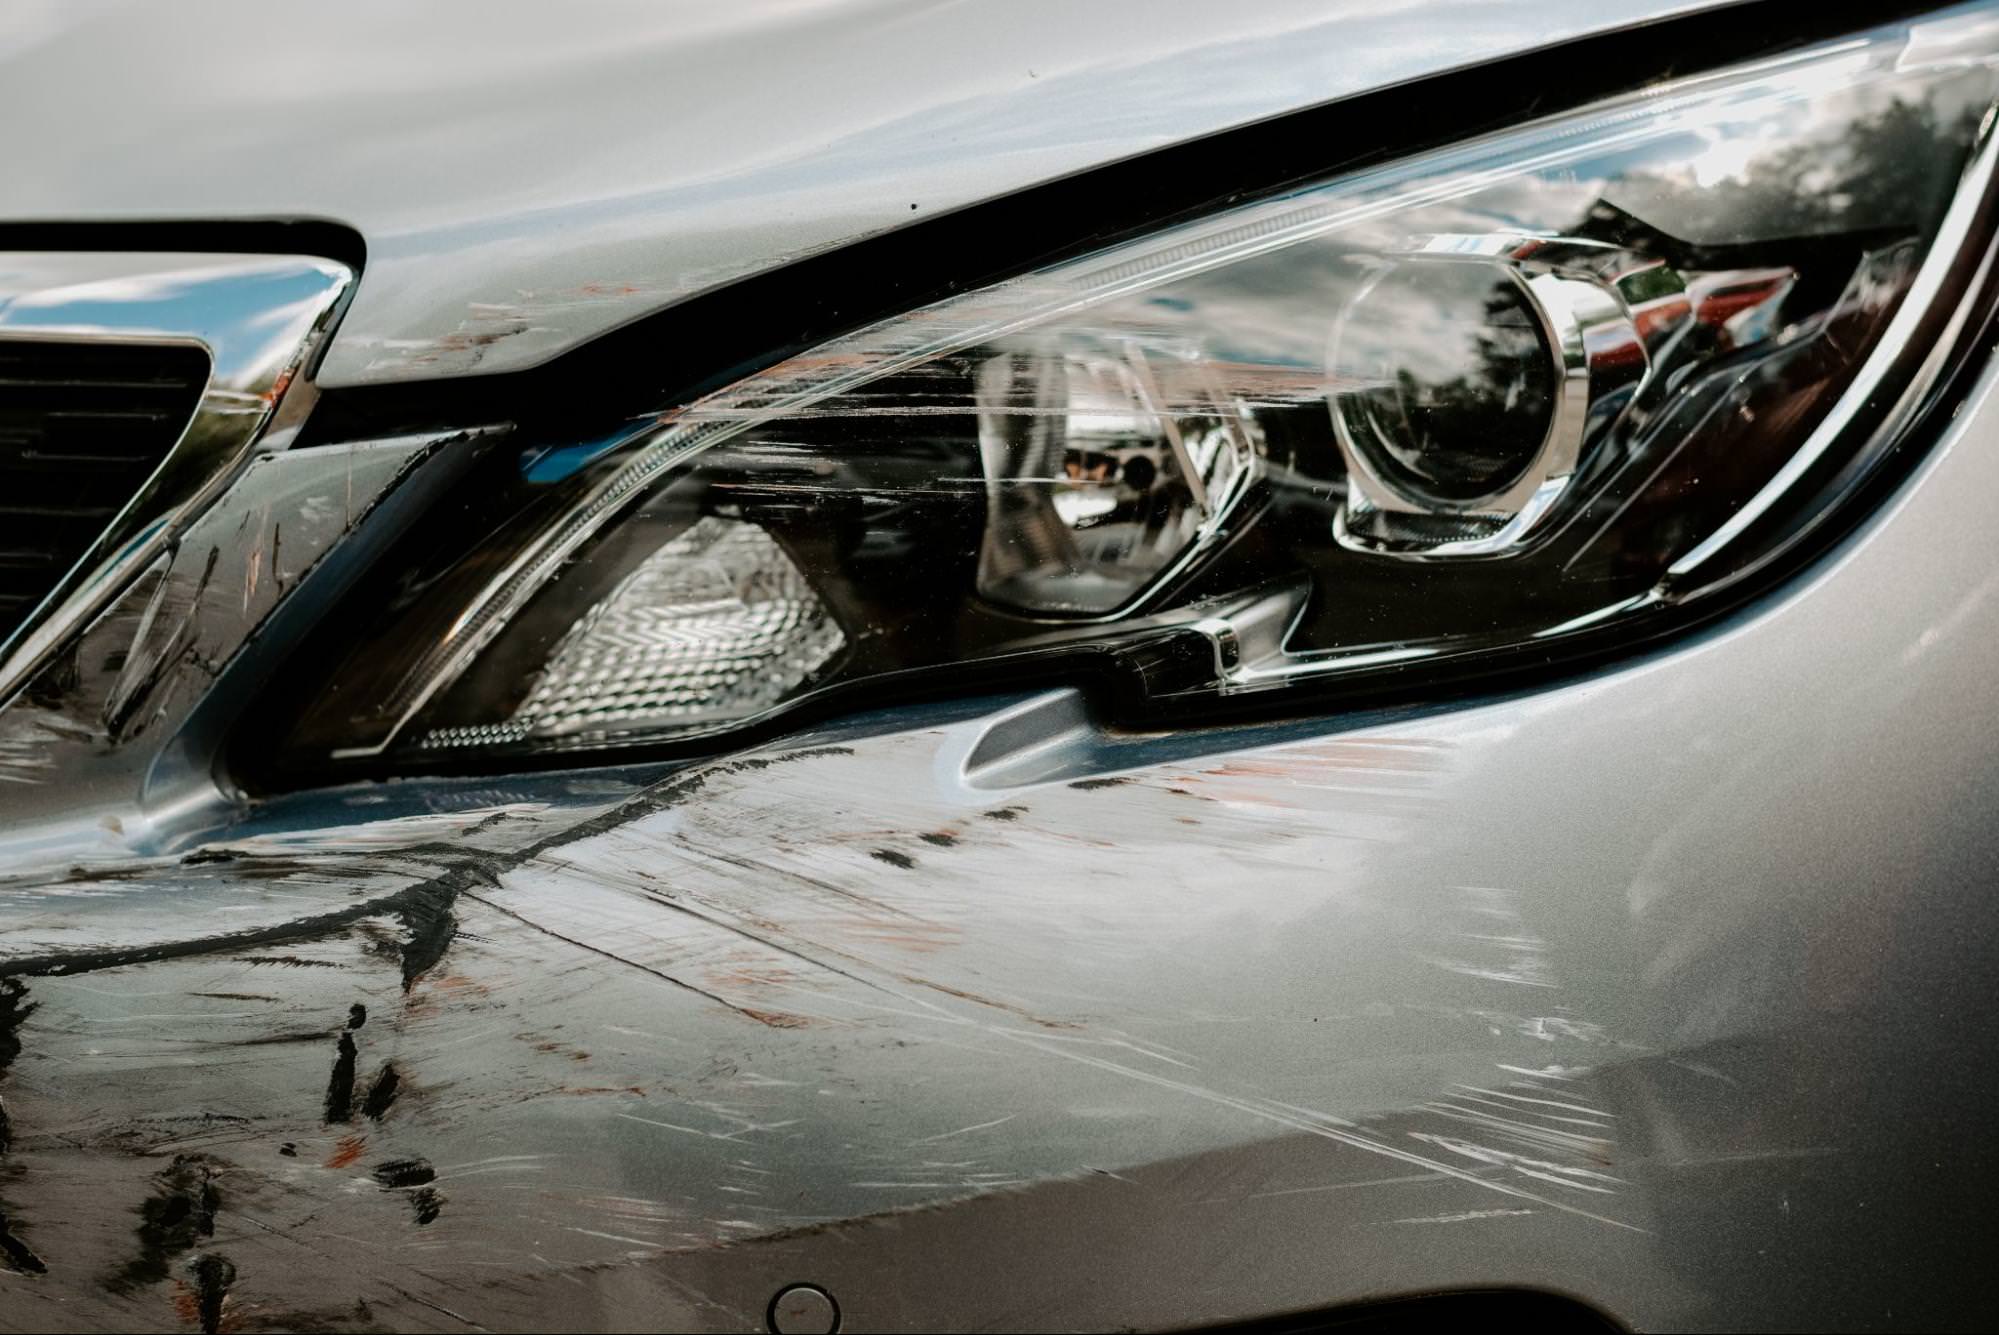
Scratches
Scratches can be annoyingly easy to get. All you need is a branch sticking out a little bit too much or a split second of miscalculation as you’re parking the car, and the damage is already done.
To understand how to solve a scratch on the car, we must first understand the four layers that make up a car's coating:
- E-coat
- Primer
- Basecoat
- Clearcoat / topcoat
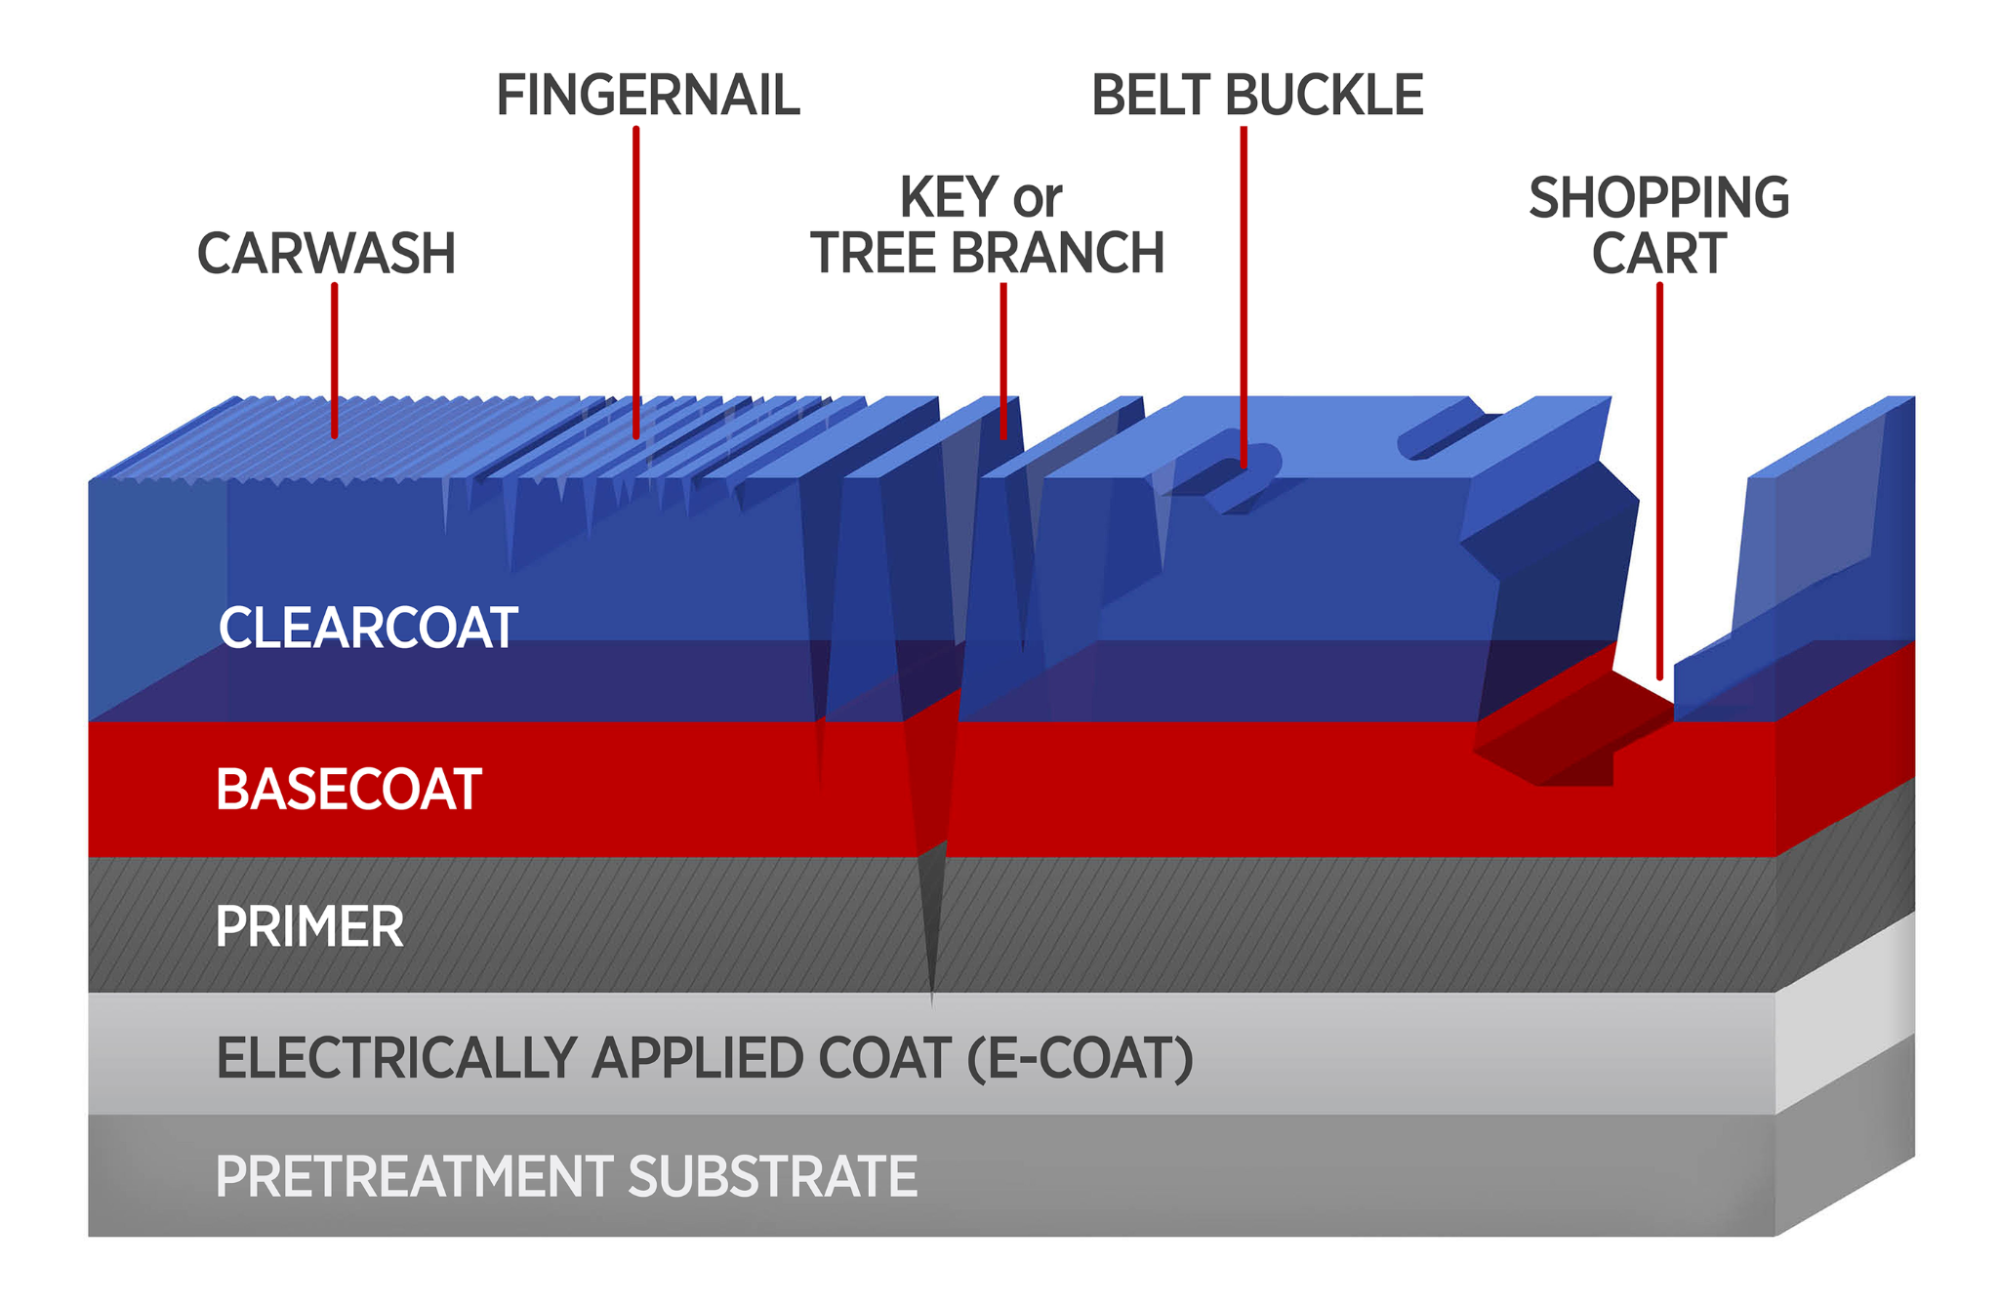
How can you actually tell how deep a scratch is?
Just run your finger over the scratch and see how it feels.
Does your fingernail catch on it?
- No - good news, it's just a clear coat scratch!
- Yes - it’s a deeper scratch that cuts into the base coat or even the primer, and the repair process will take more time and tools.
► Minor scratches - Clear paint pen
Clear paint pens don’t actually contain any color, only clear lacquer.
This solution will only work for minor scratches on the top coat.
These pens will only disguise the damage instead of solving it, like putting a band-aid on a cut.
✅ How to use a clean paint pen: clean and dry the affected area first. Then simply use the pen over the scratch. The pen will somewhat disguise the scratch, but it will still be visible up close.
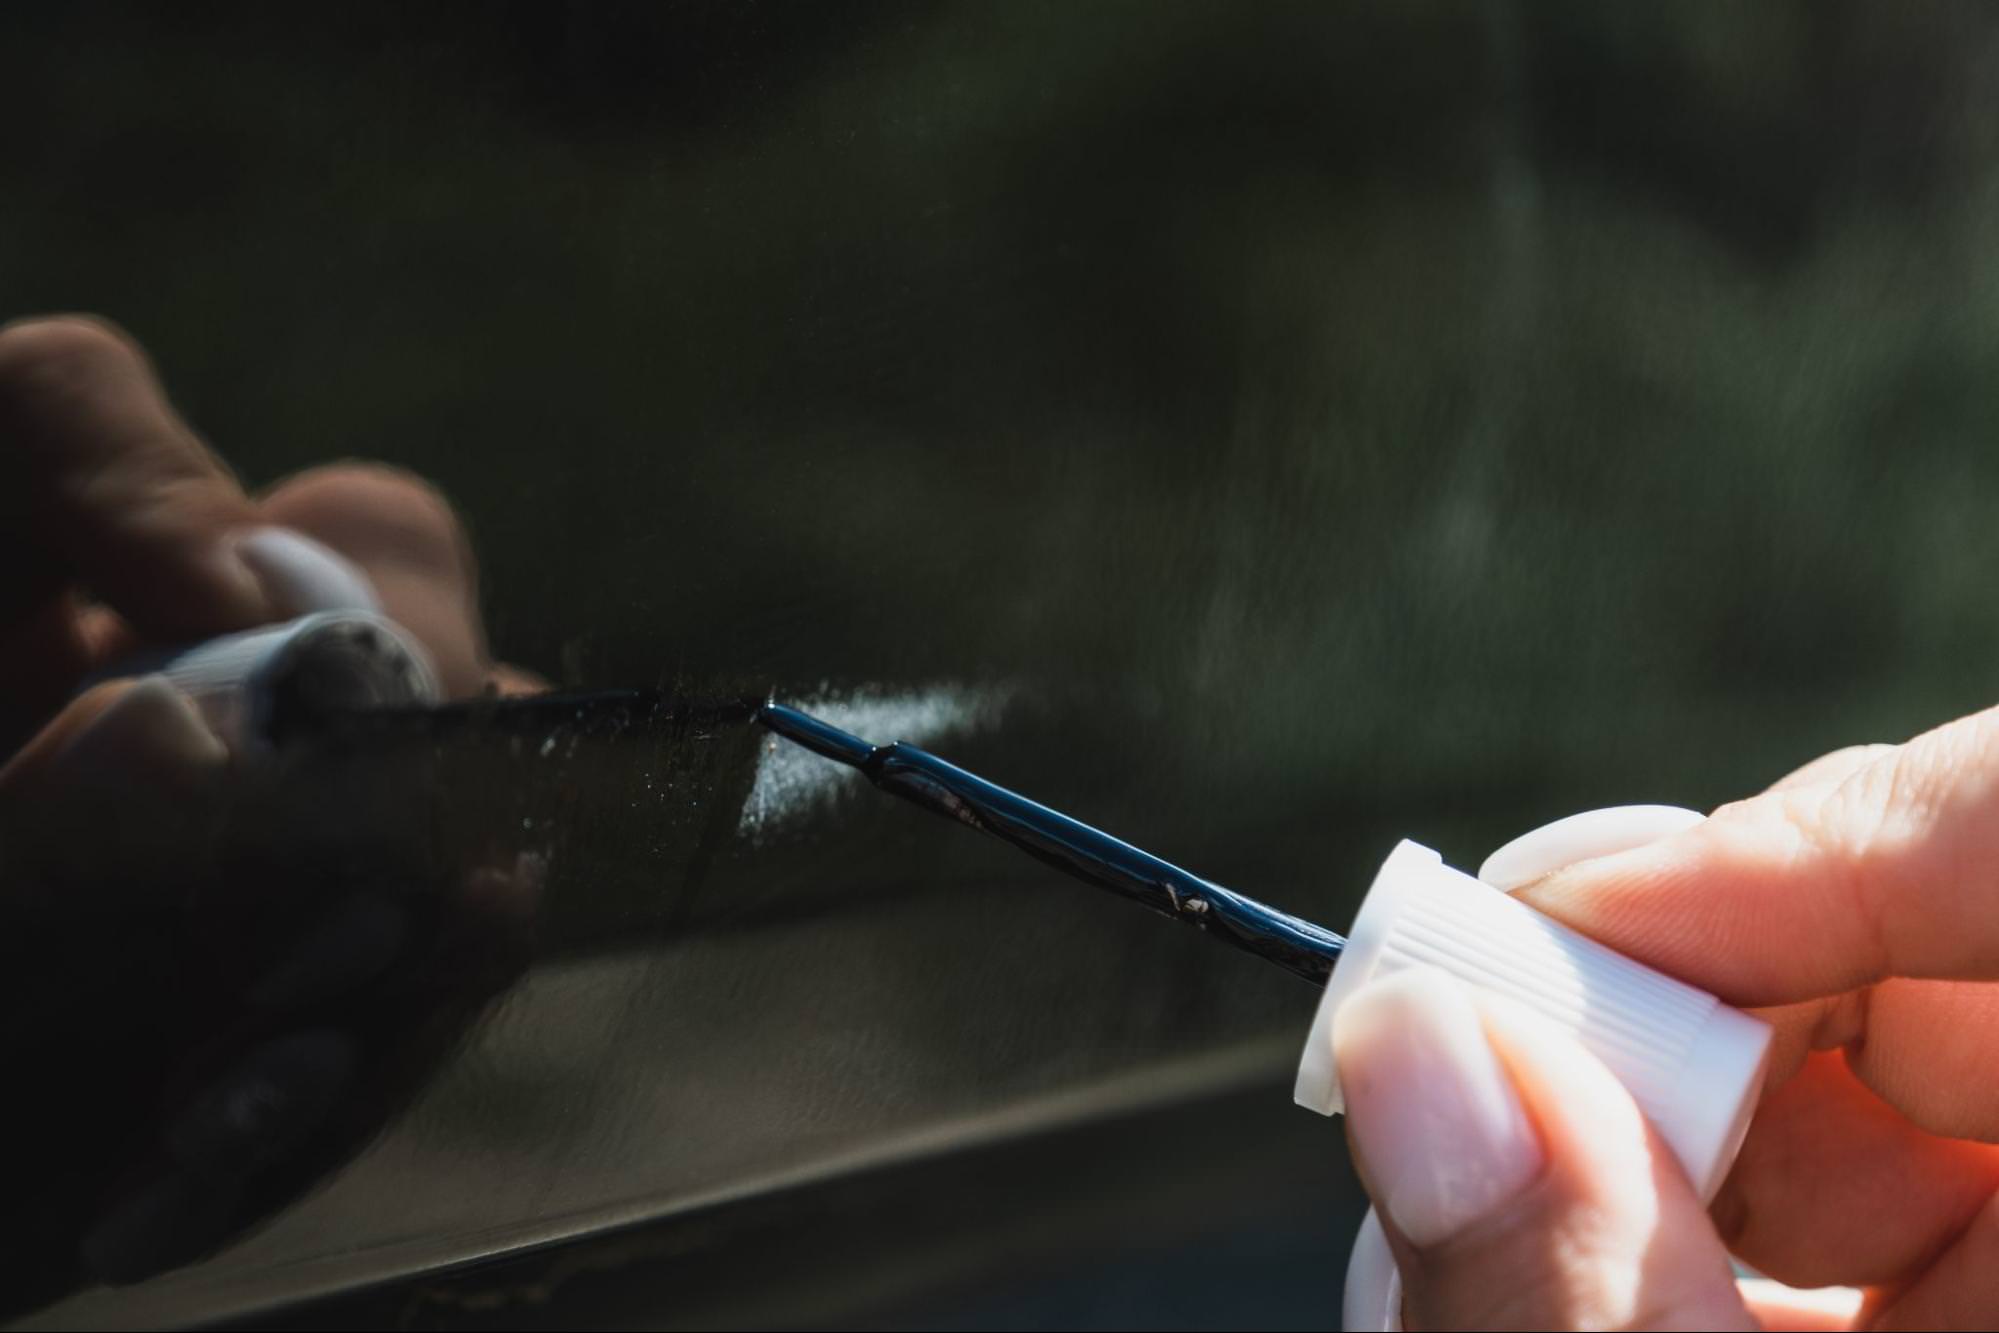
► Minor scratches - Color paint pens
These pens do contain paint, and the process requires more steps, although it’s still incredibly simple.
You can buy cheaper paint pens in pre-made basic colors like white, black, red, etc.
However, there is a chance of it not matching your car’s color is high, and it can look even worse after the “repair”.
A better solution is to have a custom paint pen done for you so that you can color match perfectly according to your vehicle’s color code. Here is an example of how to find your BMW’s color code.
✅ How to use a color paint pen:
- Clean and dry the area with the scratch.
- Apply a thin layer of primer over the scratch and wait for it to dry.
- Make sure the pen is ready to go by pumping it over another hard surface (not the car). When you see the paint coming out, wipe away the excess and apply it to the vehicle.
- Allow the paint to dry, then seal it with a top coat.
- Polish and wax.
► Minor scratches - Car scratch remover
These are micro-abrasive compounds that remove scratches by removing the top coat of the car’s coating. In short - they remove the scratch by physically polishing it away.
It’s essential that the base coat is not affected by the scratch, as these compounds depend on the existence of a layer beneath the scratch.
The most significant advantage of this option is that you don’t have to worry about finding the exact color match, like with the paint pens. The most popular scratch remover of this kind is the iconic T-Cut.
✅ How to use a scratch remover:
- Clean and dry the area.
- Apply the solution or the paste in circular motions, ensuring you focus on the affected area.
- Rub gently until you can no longer see the scratch.
- Take a clean cloth and wipe away any excess product.
- Wax generously since this area no longer has its protective top coat.
► Deeper scratches - Fillers and paint
Unfortunately, some scratches require more than a paint pen or a scratch remover kit.
For cases when the basecoat or the primer layer have been damaged, you will need a few extra tools and some patience.
✅ Supplies:
- Spray primer
- Spray paint in the color of your car
- Spray clear coat
- 600 grit sandpaper
- 180 grit sandpaper
- 80 grit sandpaper
- Sanding block
- Body filler
✅ How to use fillers and paint:
- Clean and dry the area.
- Start with 180-grit sandpaper to smooth out the whole surface of the scratch.
- After the entire area is smooth, remove the sandpaper dust with a clean cloth and apply a thin layer of body filler.
- Wait for the body filler to dry completely.
- Sand down the dried body filler with an 80/180-grit sandpaper to completely smooth out the surface.
- Use masking tape and plastic sheets to isolate the area from the rest of the car.
- Spray three coats of primer, ensuring that each layer is dried before you apply the next one.
- Smooth it out once again with 80-grit sandpaper.
- Spray the paint in 3-4 layers until it looks natural.
- Finish it off with a layer of clear coat.
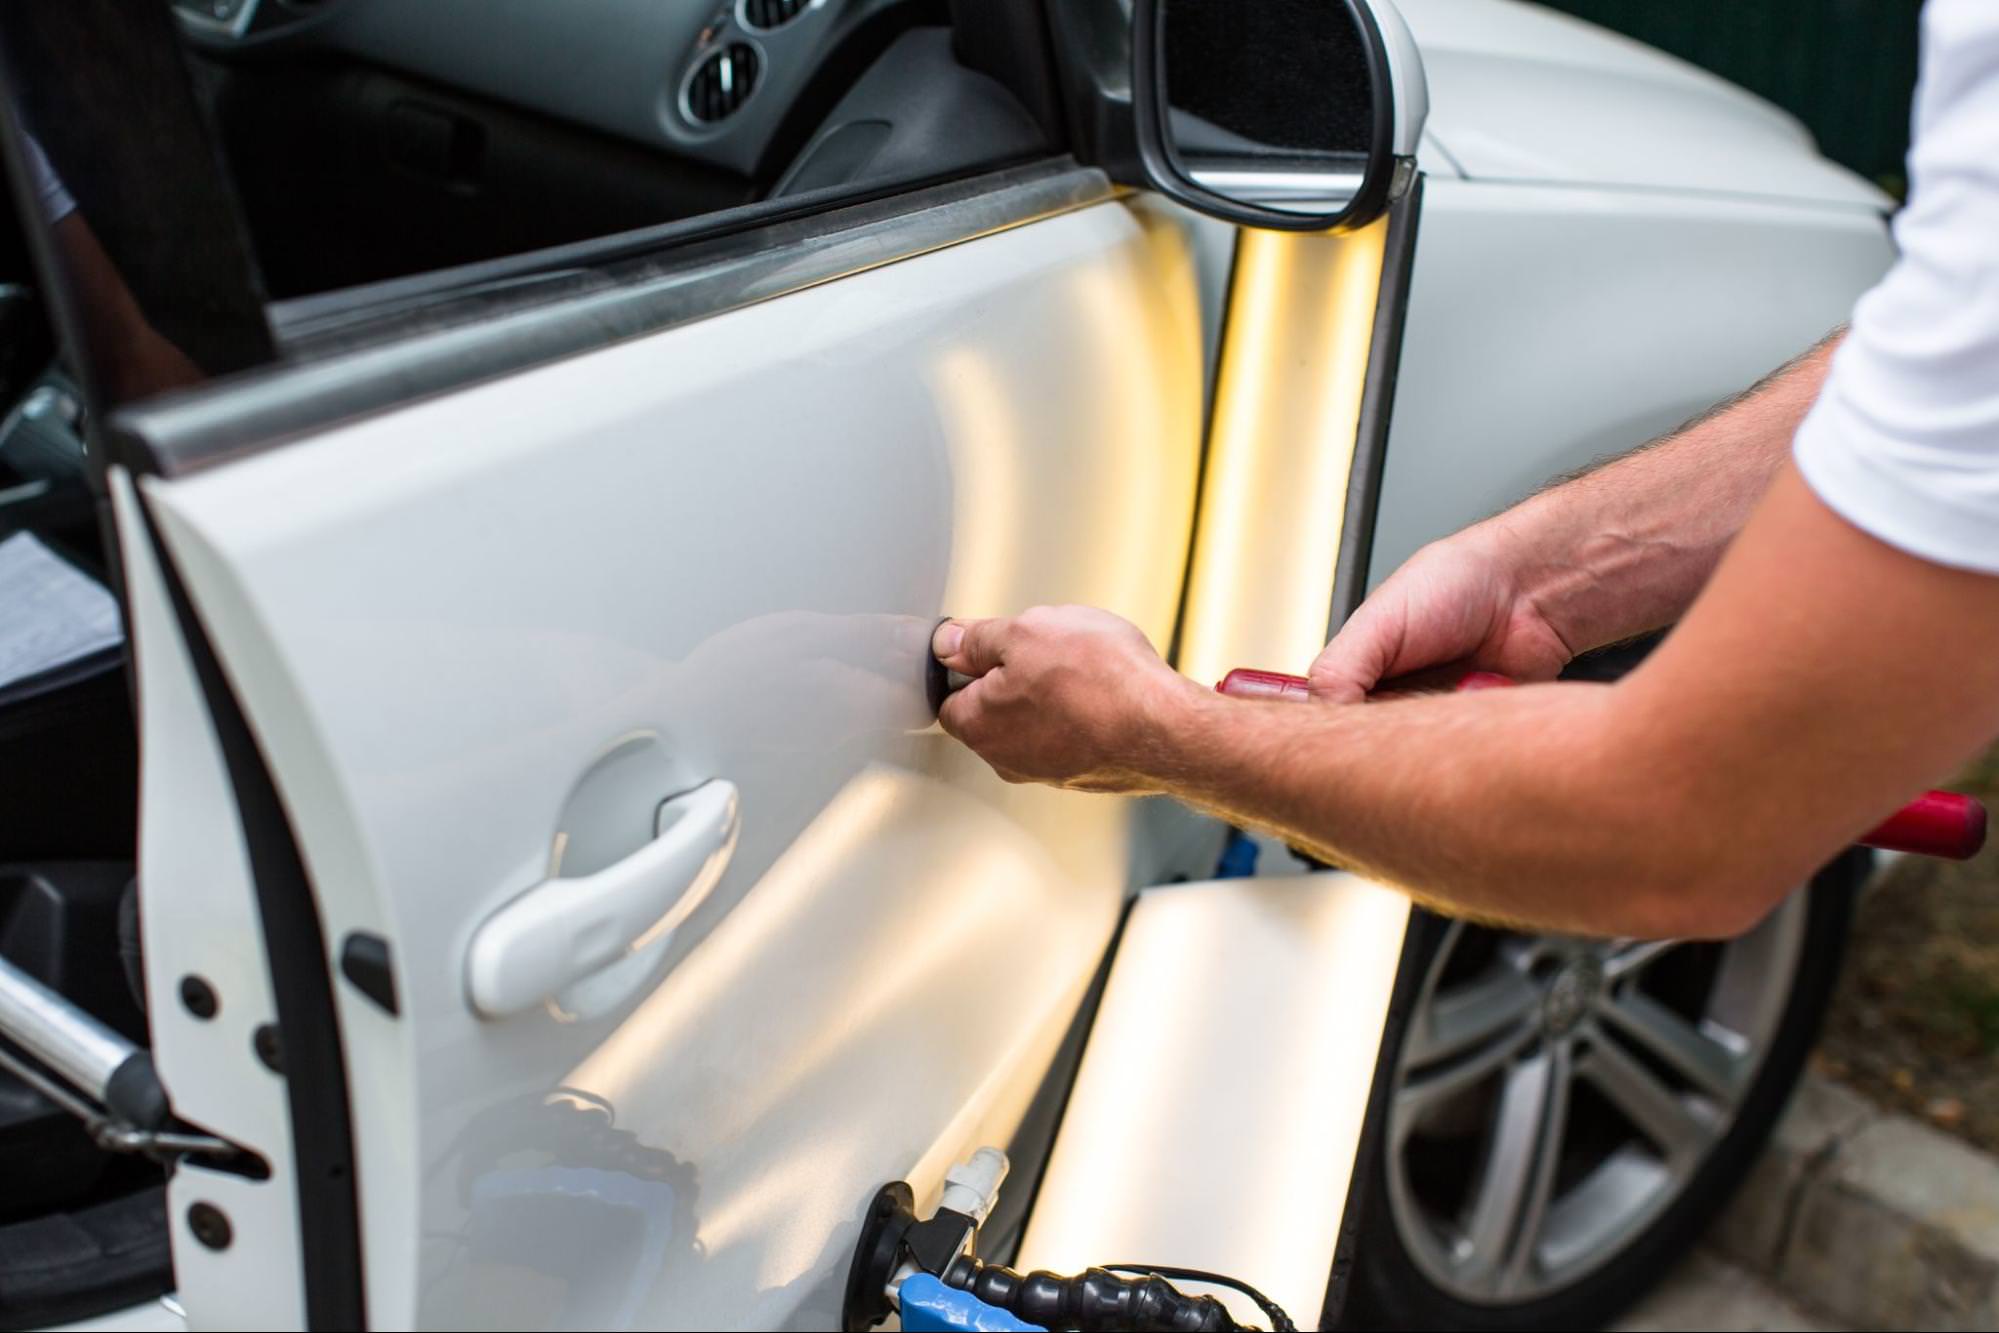
Dents
Dents are another typical damage you’ll inevitably find yourself fixing as a car trader .
A dent is an area of indentation caused mainly by collision or projectiles like stone or hail. As with scratches, solutions to dents vary from extremely easy to those requiring more tools.
► Minor dents - Plunger
This might sound weird, but trust us, it works.
✅ How to use a plunger:
- Clean and dry the area of the dent.
- Spread some Vaseline over the edges of the plunger and then put the plunger over the dent.
- Work the plunger until the dent pops out.
► Minor dents - Suction cups
Similar to the plunger method, this one is used for more minor dents.
✅ How to use suction cups: The process is the same, but can use water instead of Vaseline to make the cups form a vacuum seal over the dent.
Then pull the cups, and repeat the process until the dent pops back out.
► Minor and bigger dents - Glue pulling
Glue pulling is a very popular and effective PDR (Paintless Dent Removal) technique.
You can use glue pulling on its own, but it is typically also combined with metal rods used to “massage” the dent from the other side (if it can be reached).
If you can’t reach the dent from the other side of the panel, you can use only glue pulling.
✅ How to use glue:
- Get any DIY glue-pulling dent kit on the market, like this one.
- Choose the right size of the pulling tabs for the size of your dent.
- Heat up the glue gun and apply a generous amount of glue to the bottom of the tabs.
- Stick the pulling tabs onto the dent and wait for the glue to dry.
- Place the pulling tool over the tabs and start pulling.
- The dents should pop out with each movement. Repeat the process until the dents have popped out.
- Remove any glue residue with alcohol.
In the glue-pulling process, there is a high chance you will create raised areas.
You can smooth those back down by using a hammer that is usually provided in DIY kits like these.
Tap over raised areas very gently and in circular motions.
For hail damage or any other damage where you can easily access the other side of the affected area, you can combine glue pulling with special PDR bars.
✅ How to use PDR bars:
- Heat up the dented area with a hairdryer, so the paint doesn’t crack.
- Use the bars to gently push the dents out. This will, again, probably create raised areas, but you can solve that with the rubber hammer to gently tap them back down.
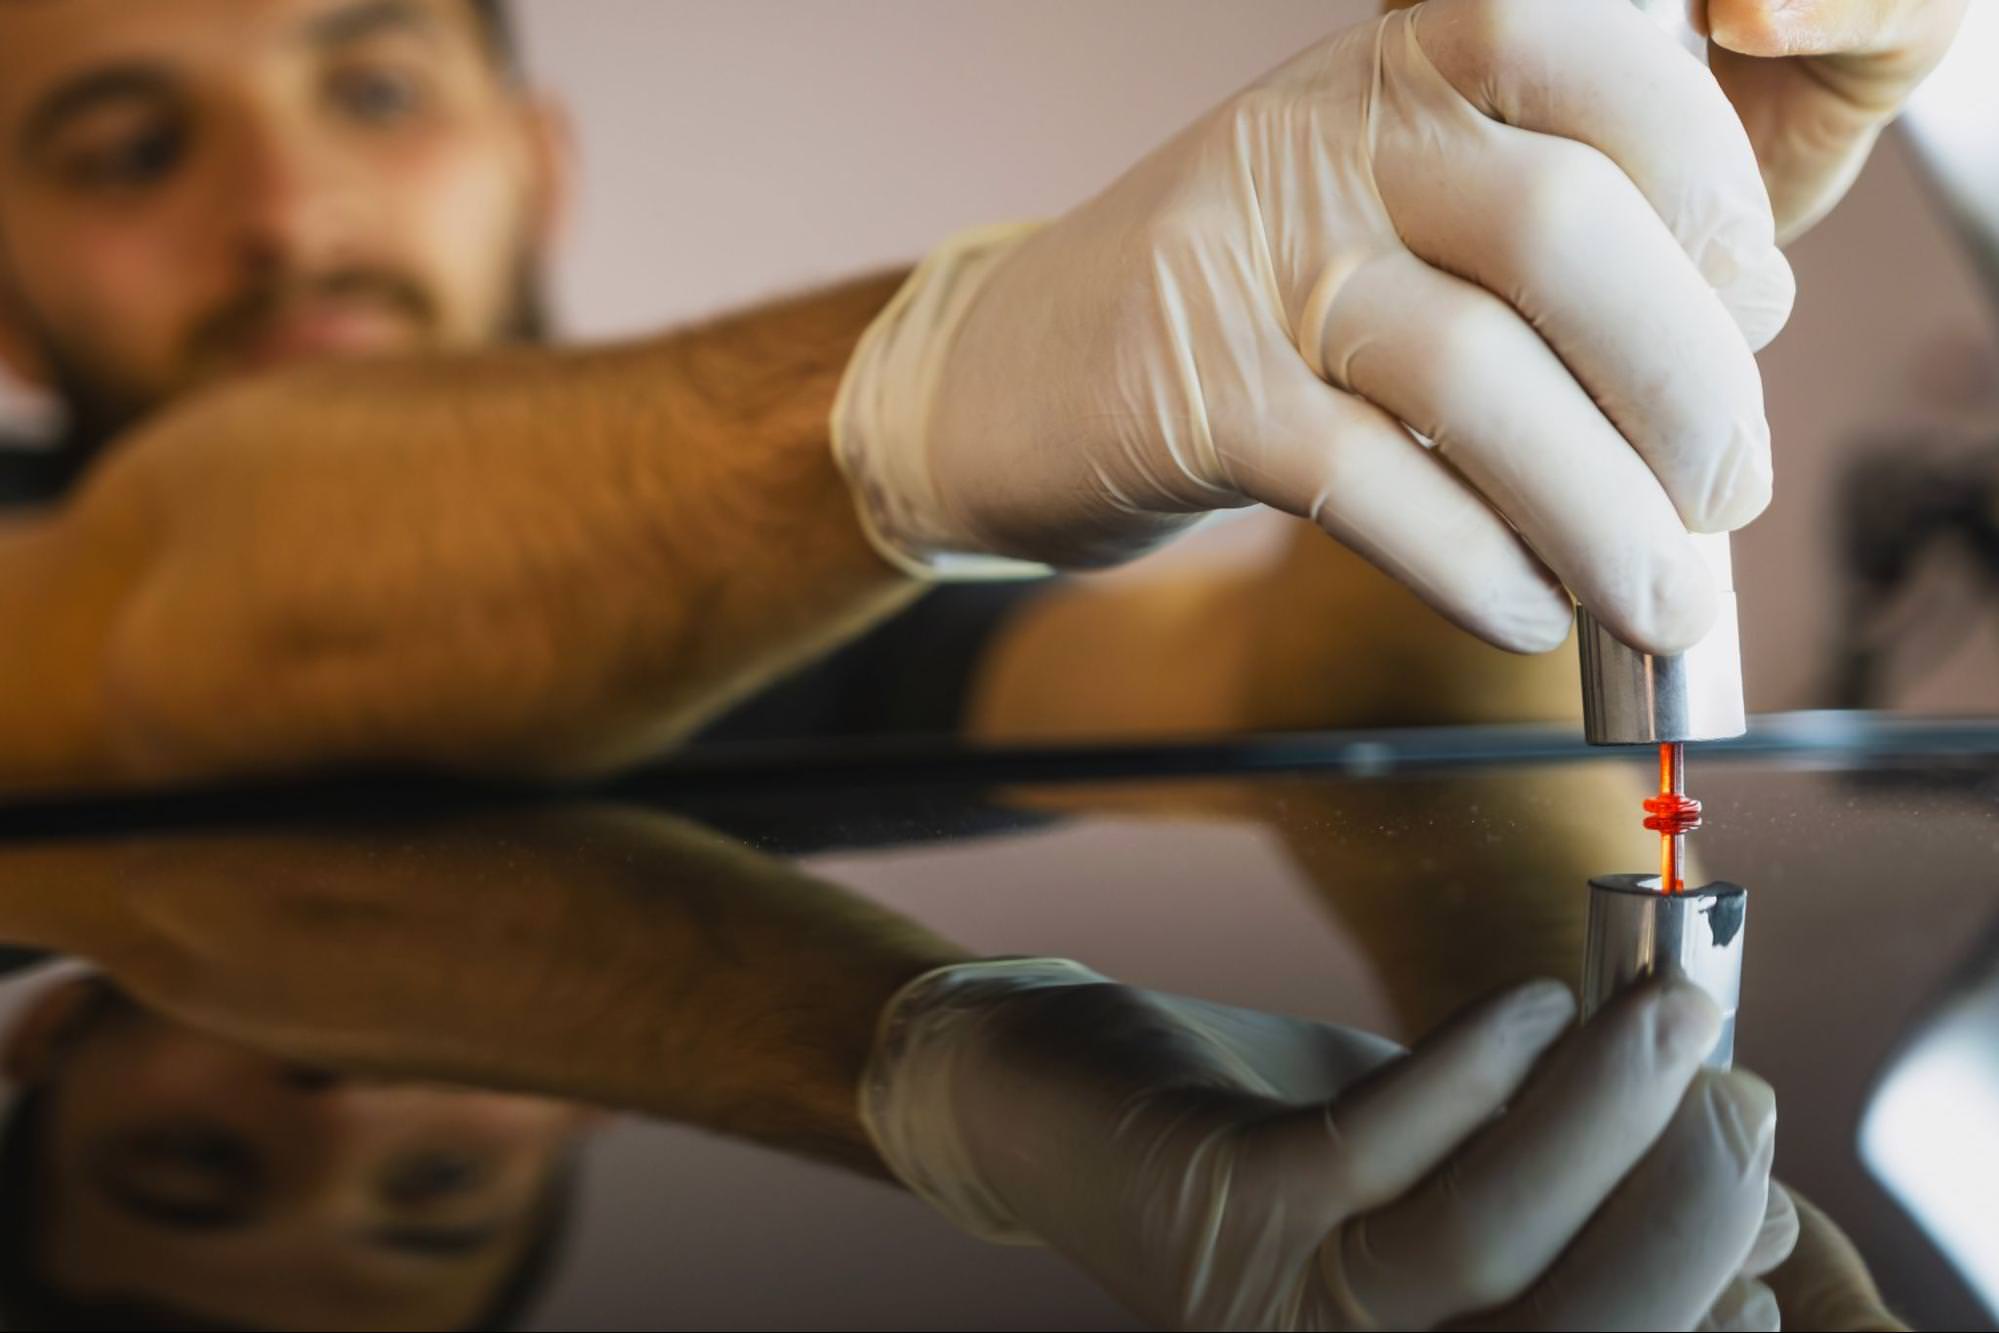
Windshield cracks
Believe it or not, there is a repair kit for everything, including cracks in the windshield, as long as the damage is not too significant.
Kits like these work best on minor damages and can be quite successful in repairing them.
If you have a crack that splinters off like a spider's web, the windshield cannot be repaired and needs replacing.
Keep in mind - the damage might still be visible if you look at it closely, but the results can also be mind-blowing.
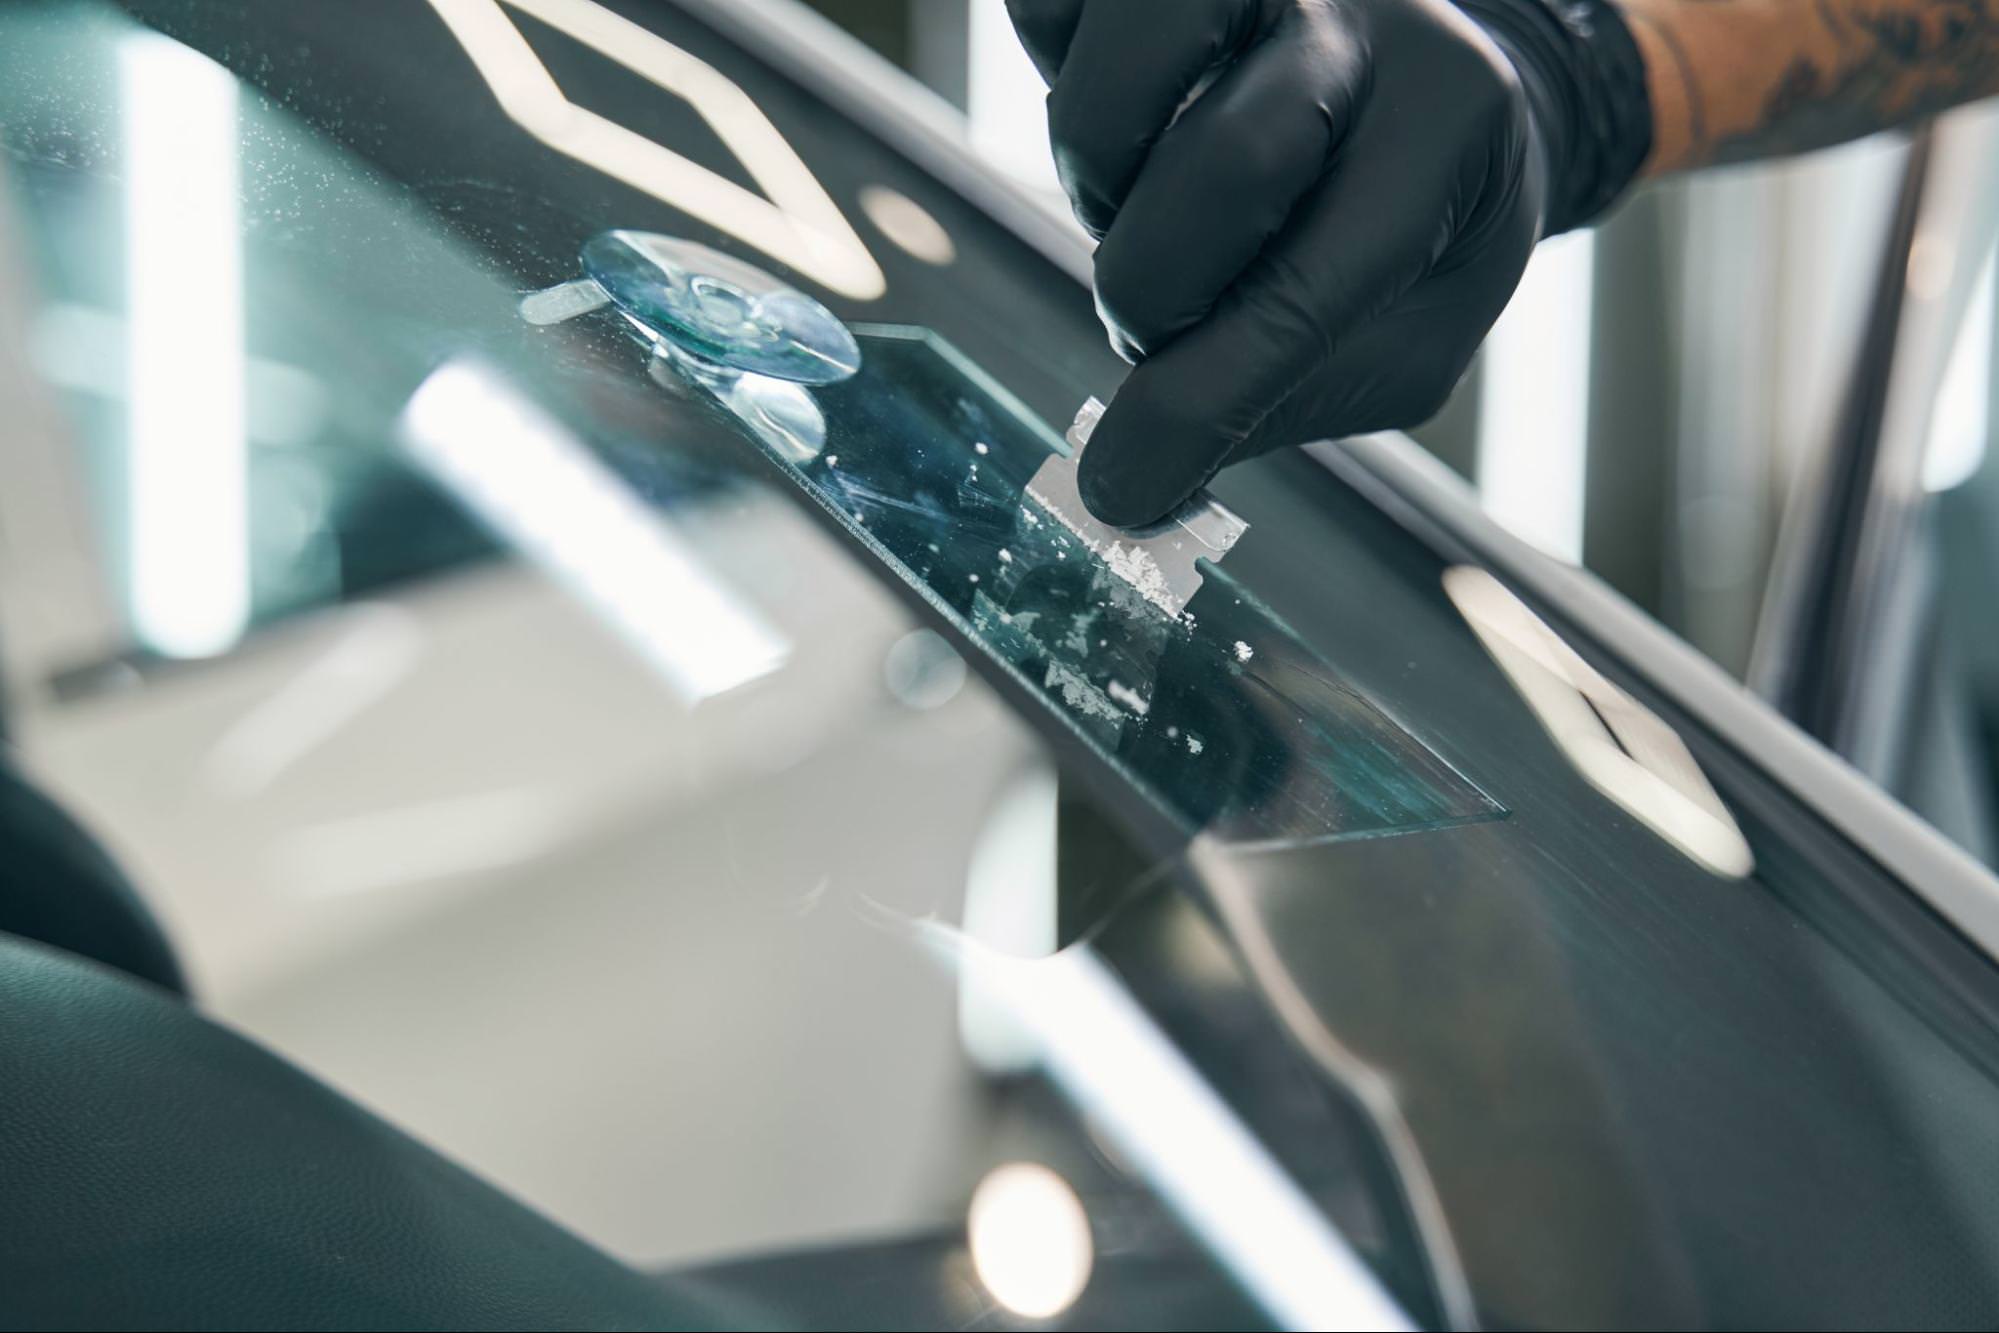
✅ How to use a windshield kit:
- Clean and dry the windshield with a microfibre cloth and rubbing alcohol.
- Apply the provided liquid resin onto the crack, following the instructions on the kit.
- Create a vacuum seal with the provided tools and wait for the resin to dry.
- Remove excess resin with the provided safety razor.
.
Damaged interior
So far, we have talked about exterior damage, but you should also pay attention to interior damage. After all, the inside of the car is where your customer will spend most of their time.
► Minor carpet damage
If you encounter a small tear in the carpet, a running stitch will solve all your problems.
You can purchase a car carpet repair kit if you’re dealing with a small hole or burn in the carpet.
✅ How to use a car repair kit:
- Cut the affected area out and replace it with a fabric piece from the kit.
- This replacement piece is then glued onto the bottom of the carpet, and you’re done!
► Damage to vinyl and leather
Yep, you’ve guessed it - there is a vinyl and leather repair kit.
Mixing the provided colors to get the exact color of your affected vinyl/leather requires a bit of trial and error, but it’s worth it.
You can also use a leather repair compound or liquid leather to patch up any leather cracks and holes.

► Bad smell
Not exactly a damage, but definitely something your customers won’t like.
Baking soda is the easiest and cheapest way to get rid of bad smells or deodorize any textile.
✅ How to deodorize the interior:
- Sprinkle a generous amount of baking soda onto any interior textile surface of the car.
- Let it sit for a couple of hours, or better yet, overnight.
- Vacuum the baking soda thoroughly.
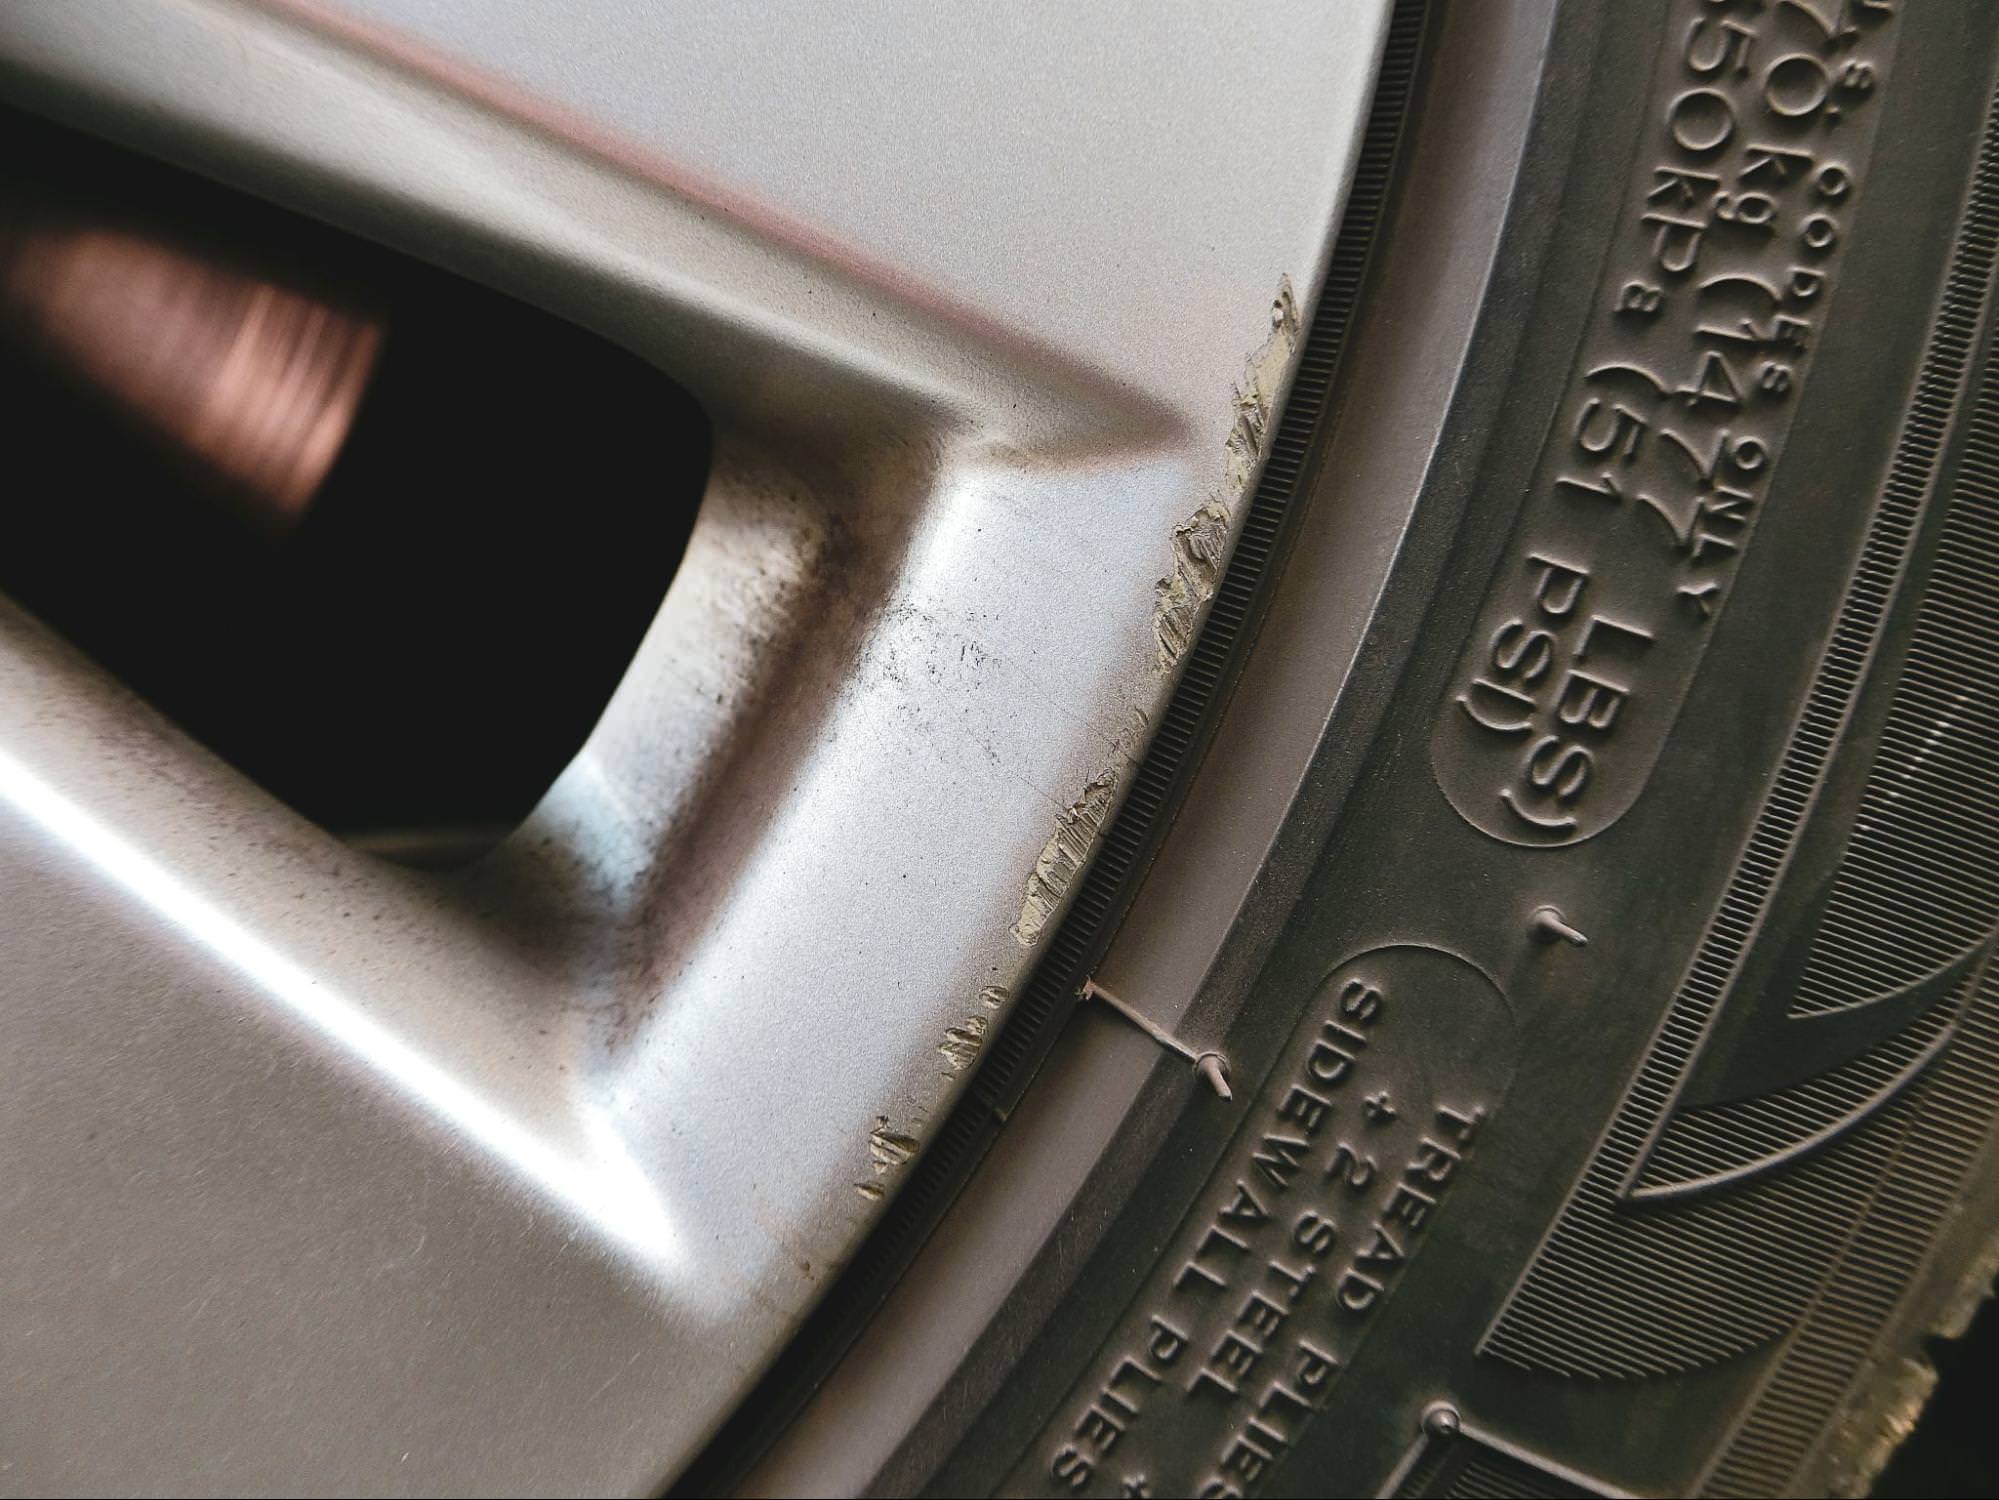
Allow wheel damage
Alloy wheels can quickly get scratch marks on them, especially around the edges of the wheel. The repair process is similar to how you would deal with any scratch.
Alloy repair kits are straightforward and will provide you with sandpaper, filler, and paint.
As always, these are better suited for more minor damages on the edges of the wheel. Before you buy the kit, make sure the provided paint matches the color of your alloy wheel.
✅ How to use an alloy wheel repair kit:
- Clean the wheel thoroughly to remove all dirt.
- Smooth the damaged area with grit sandpaper (provided in the kit).
- Use the provided filler to fill in the scratches and allow it to dry.
- Smooth it out again with sandpaper.
- Apply masking tape to isolate the area before you apply paint.
- Paint over the filler and wait for the paint to dry between applications.
- Apply a top coat to seal the paint.
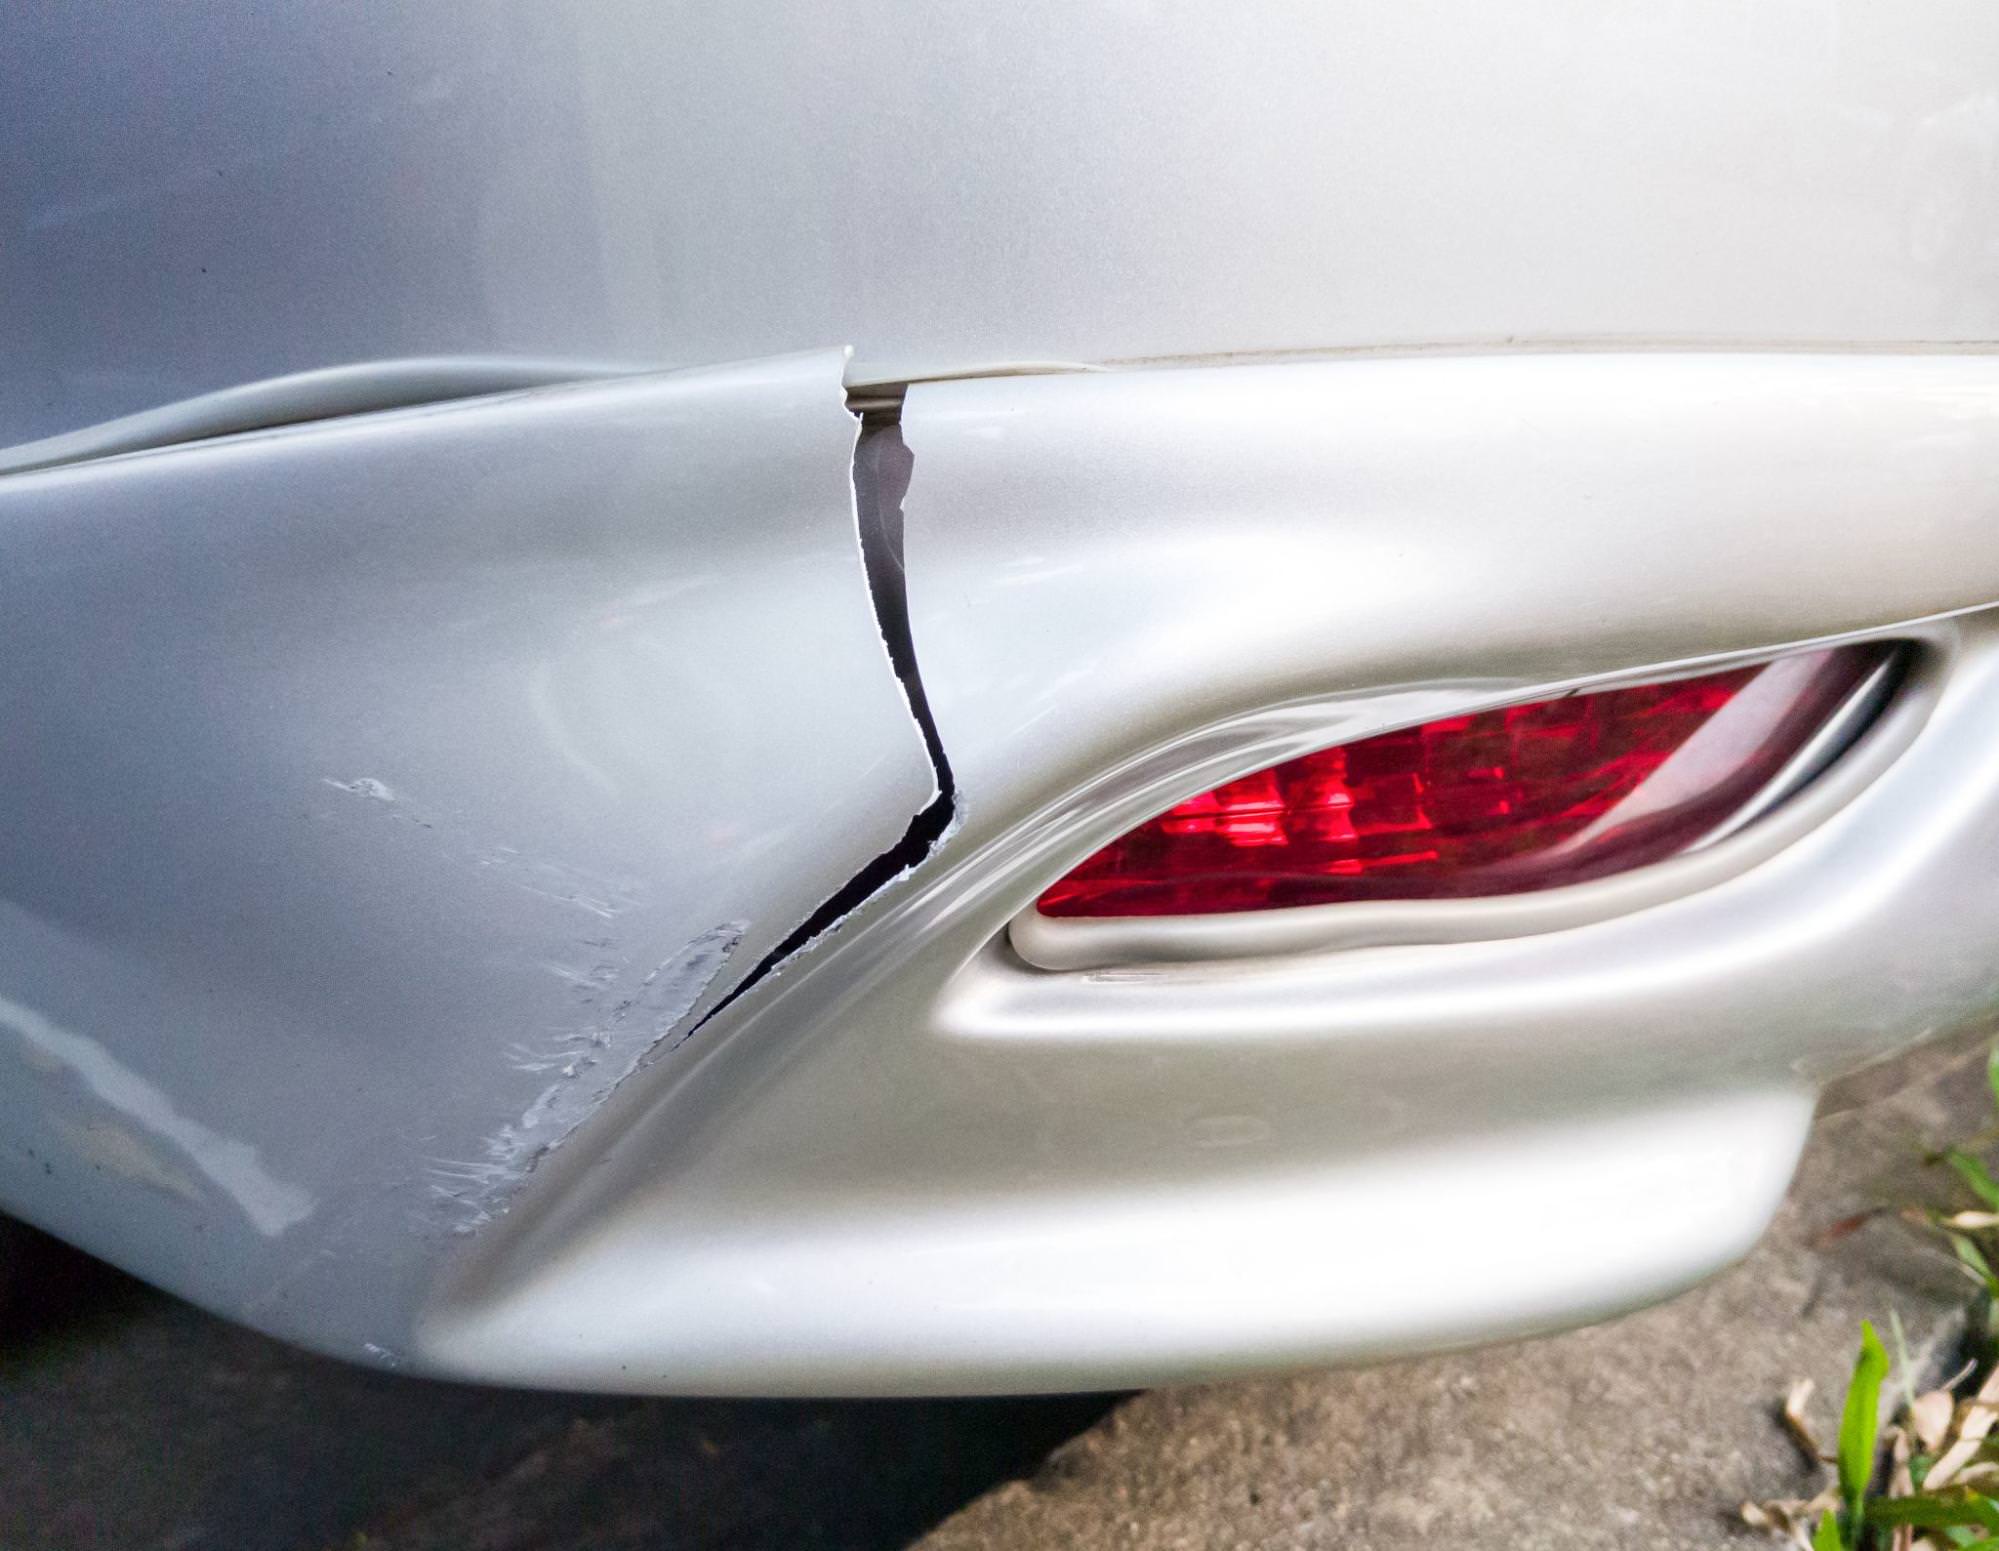
Bumper cracks
Bumpers are easy to damage since they are the first point of contact in any collision, and nowadays, they’re made from plastic.
Bumper cracks might be the only thing in this article that is more complex, but we’re here to help explain the step-by-step process!
You’ll need a bumper crack repair kit. These kits come only with plastic fillers, so you’ll have to buy paint and a top coat separately.
✅ How to use a bumper repair kit:
- Remove the bumper completely to get access to the inside of it.
- Sand the edge of the crack (from the inside) so that the edges of the crack and smooth. The plastic filler will be able to hold better this way.
- Use a bit of acetone or alcohol to clean the crack both on the inside and outside.
- Now that the edges have been sanded, use strong masking tape to reattach the two sides of the crack to one another (on the outside). Don't use masking tape on the inside because this is where you'll be applying the filler. The inside should still show the crack.
- Use the bumper filler to fill in the crack on the inside.
- Let it sit overnight to let the bonding mixture works its magic.
- Remove the masking tape to reveal how the crack looks on the outside. It should look smooth.
- Proceed with the same steps as in our "Scratches" tutorial - fill in with filler, sand again and repaint.
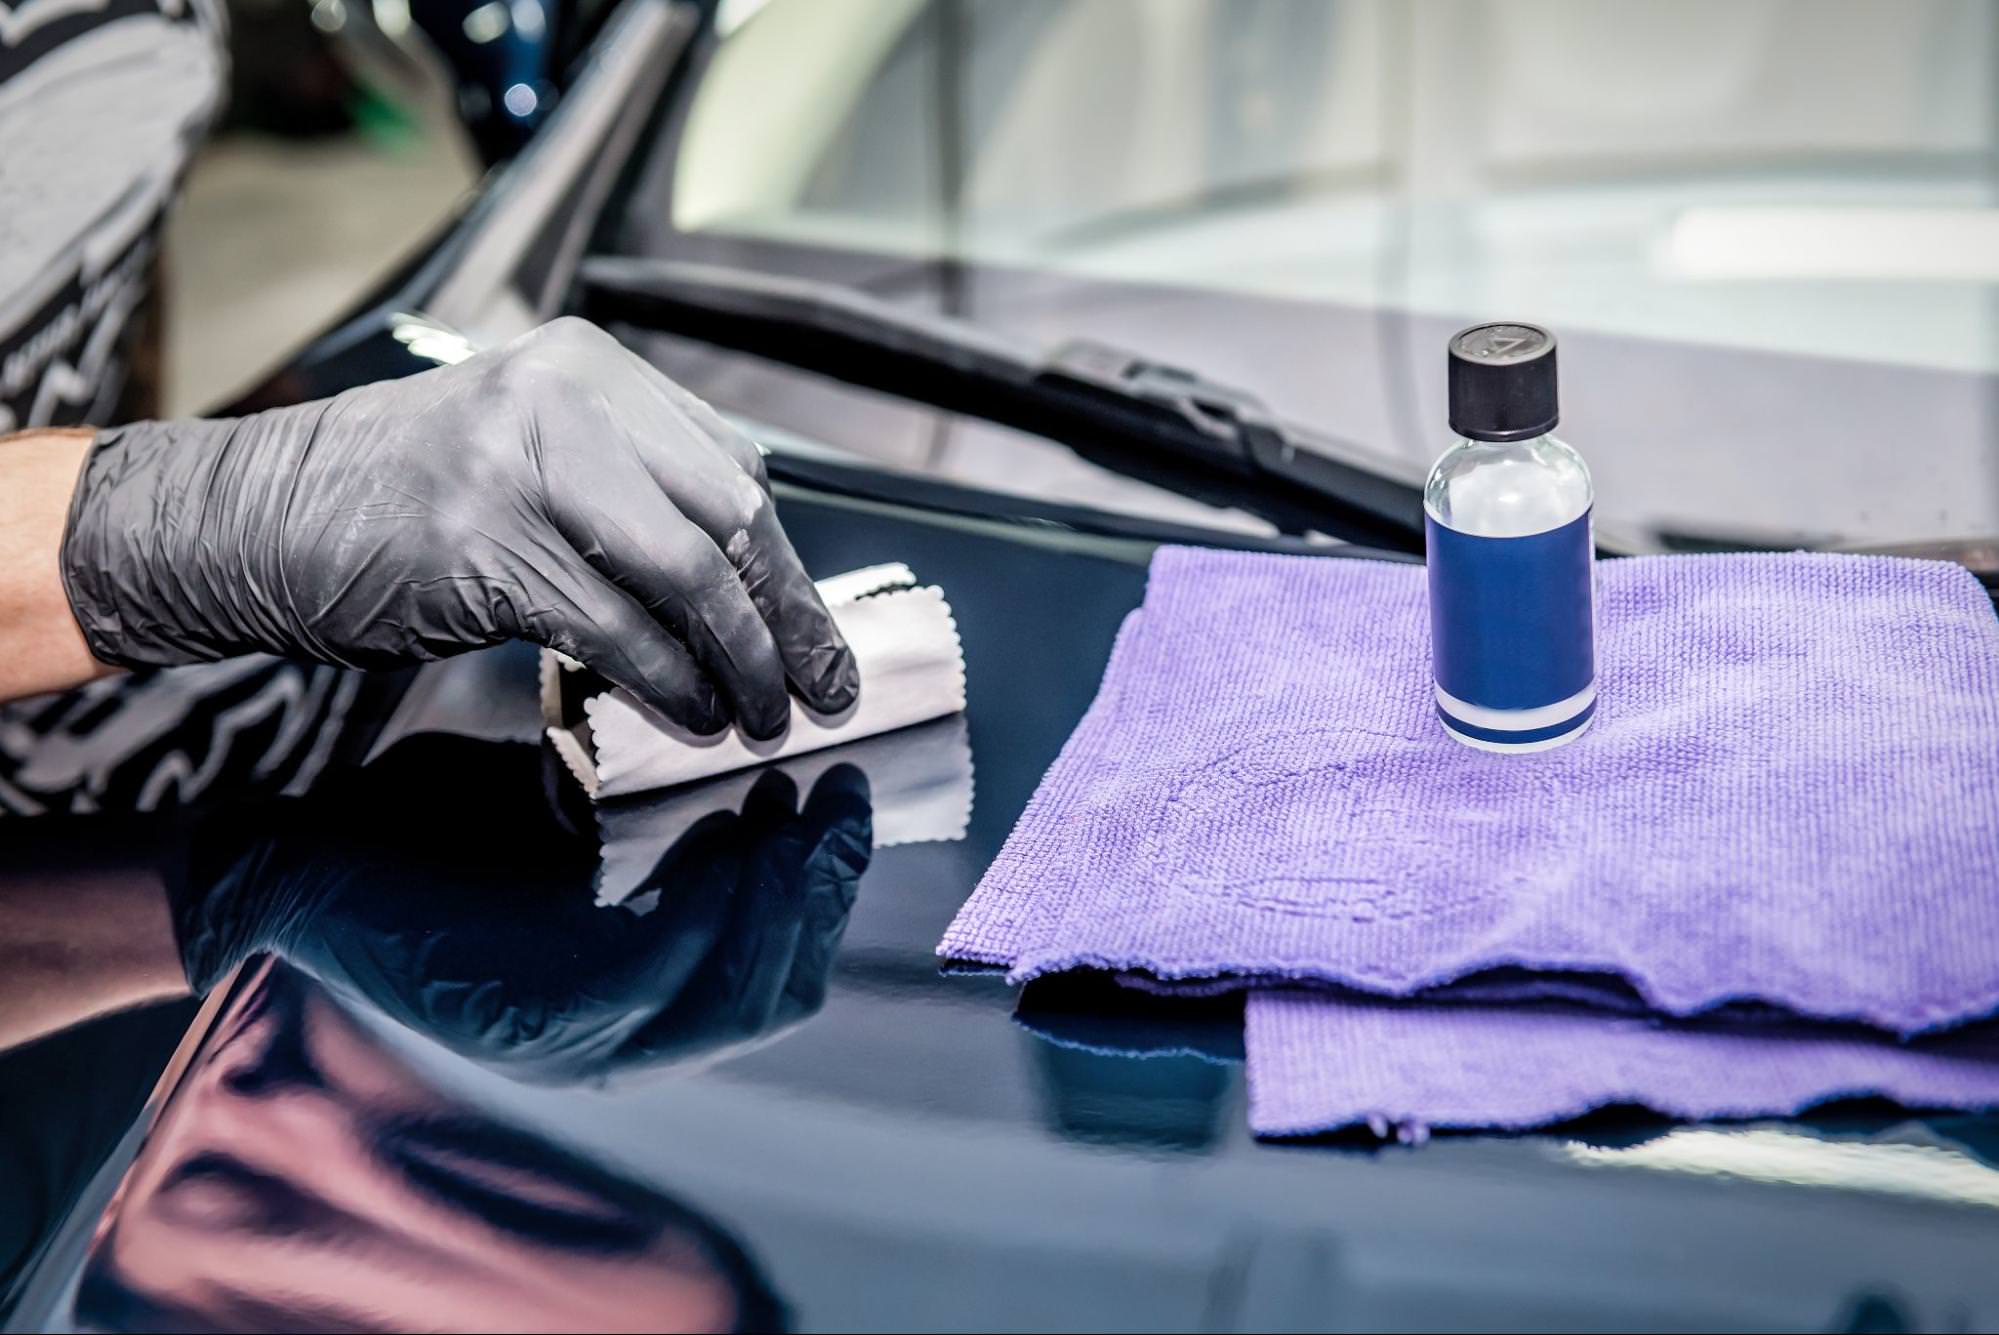
Car rust
Rust happens when iron comes in contact with oxygen and water.
Usually, it’s best to prevent surface rust with wax, but if you’re purchasing a car with some surface rust damage, don’t worry - it’s easy to solve.
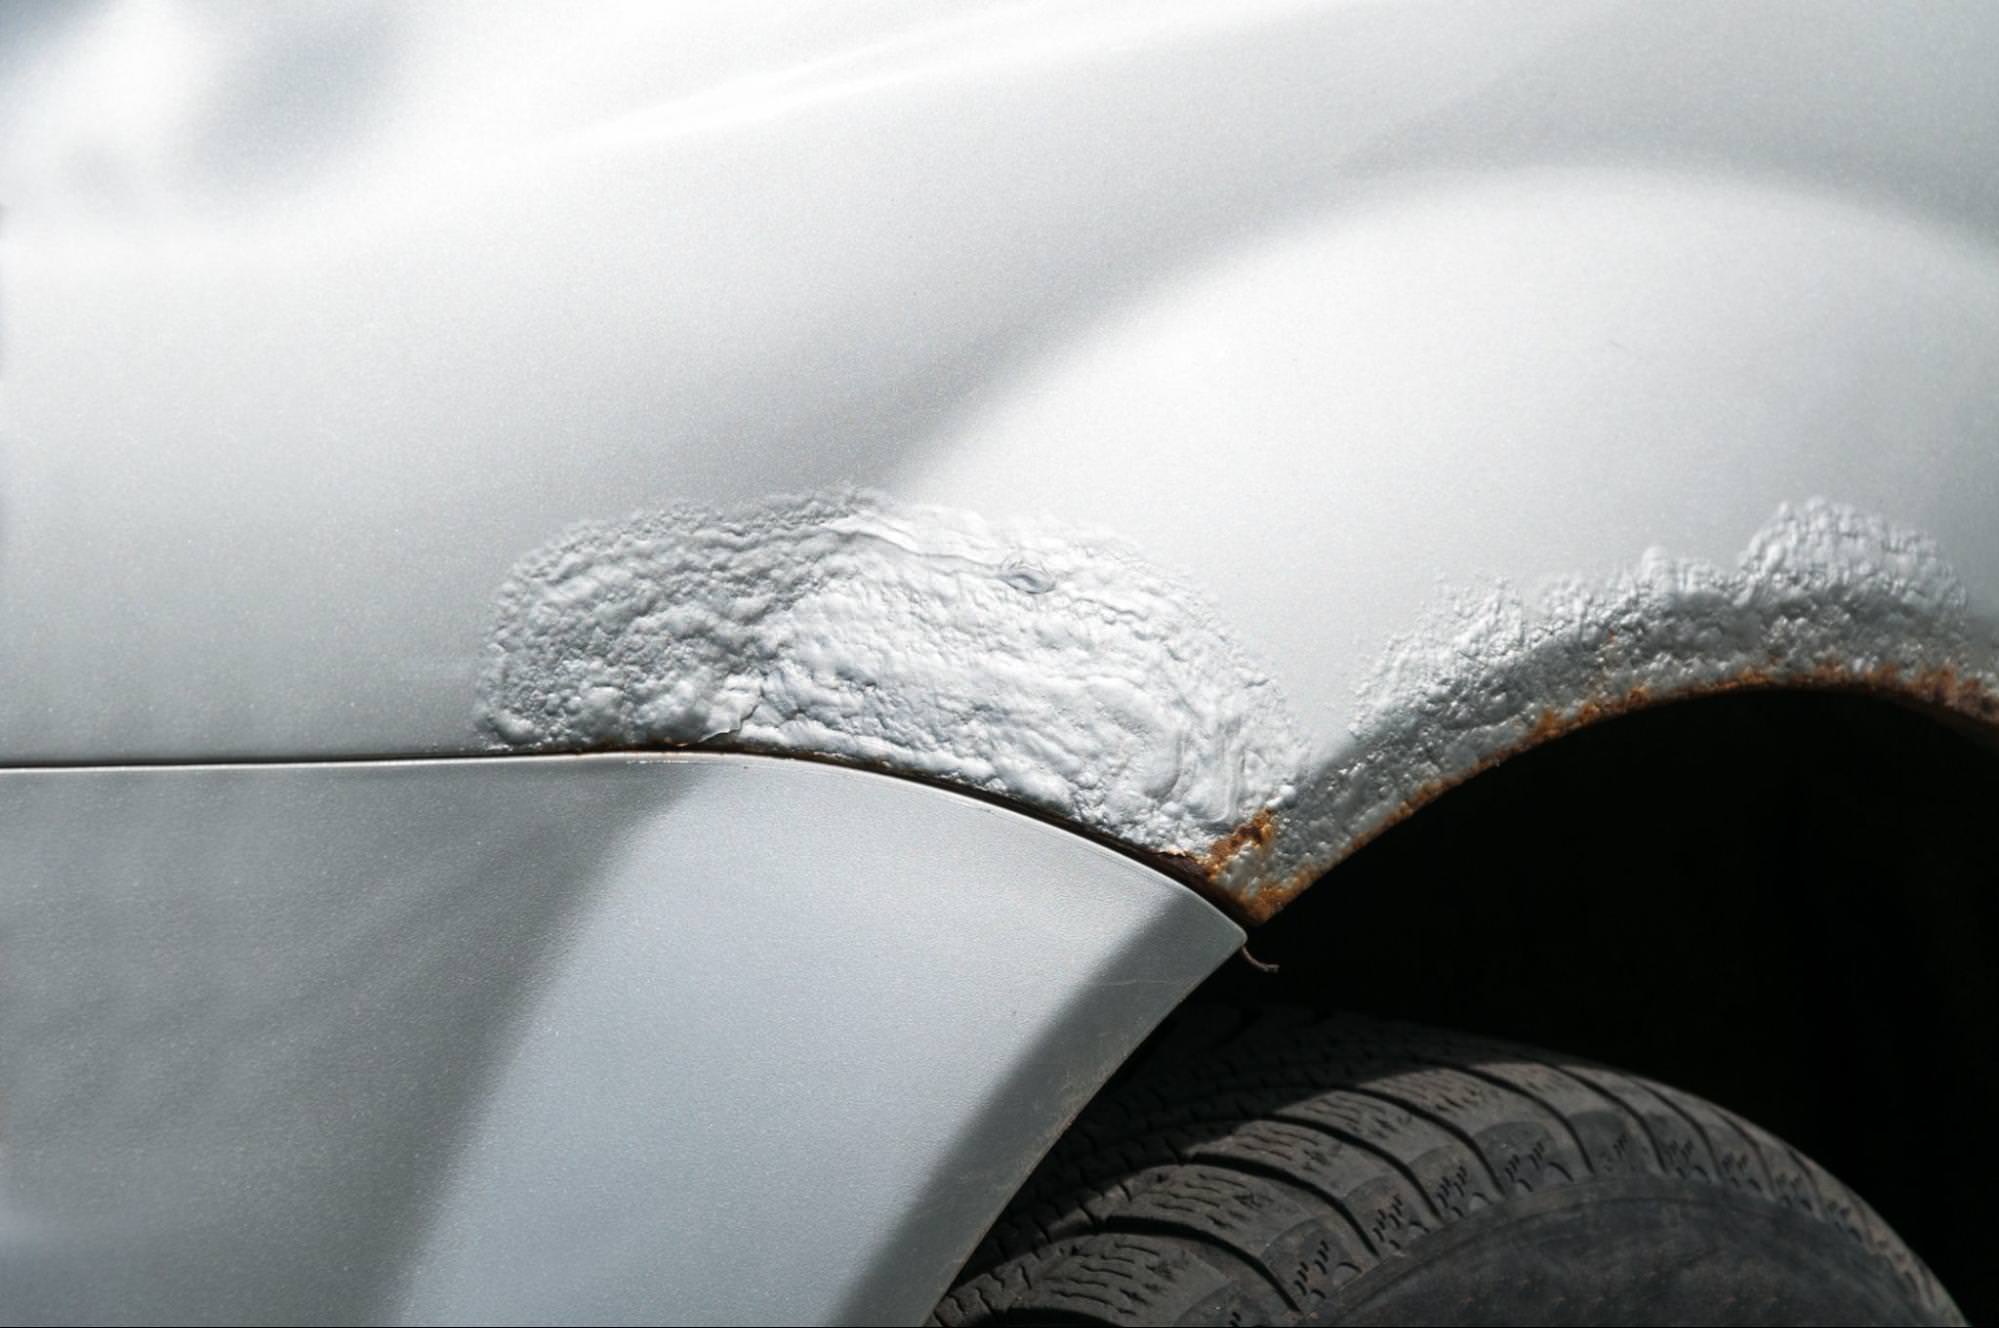
How to tell if rust is forming on the surface of the vehicle? Easy - bubbles under the paint.
Bubbles mean that the paint is no longer attached to the base metal layer, so water and air are able to gather in between. Those areas will develop rust.
✅ How to remove rust from a used car:
- Use an 80-grit sandpaper or a mechanical sanding disc to remove any visible rust. The goal is to get to the base layer - the metal layer.
- For this process, you’ll need fiberglass paste. Mix it with the correct amount of hardener and apply it to the damaged area.
- Wait for the paste to harden and sand off any excess.
- Apply body filler and proceed with the exact same steps described in the “Scratches” tutorial - fill in with filler, sand again and repaint.
For a very detailed guide on how to repair rust damage, take a look at this tutorial.
Checklist for finding common damages on used cars
When buying used cars online, careful attention to photos, descriptions, and appraisal reports is essential.
Car damage inspection checklist:
-
Exterior bodywork: Scratches, dents, rust spots, paint differences, or visible repairs.
-
Glass and lights: Cracks, chips, or clouding in windows, windshield, or headlights.
-
Wheels and tires: Rim scratches, dents, and visible tire wear.
-
Interior condition: Seats, dashboard, upholstery, and signs of heavy use.
-
Engine bay photos: Leaks, corrosion, or worn-looking parts.
-
Undercarriage photos (if available): Rust, leaks, or damage from road debris.
Having a structured checklist will help you evaluate cars more consistently and reduces the risk of overlooking costly damages.
Fixing minor damages on used cars you buy as a car trader can be really easy and increase your profit.
It’s important to know that minor damages are normal for second-hand cars, and as such, they allow you to fix the car up and sell it for a higher price.
We recommend you take a look at our Quality Compliance page to fully understand which minor damages are not considered valid grounds for claims after your purchase.
FAQ
► How to fix scratches on the paint?
Light surface scratches can often be polished out with special compounds. Deeper scratches may require repainting the affected panel.
► Does repairing scratches increase the sale price?
Yes, in most cases. A car with fewer visible scratches usually looks better in listings and can attract higher bids.
► How to fix small and minor dents?
Minor dents can often be repaired with paintless dent removal (PDR), which restores the surface without repainting. This is a cost-effective solution for many vehicles.
► Can a buyer detect previous repairs?
Experienced buyers may notice differences in paint texture, color shades, or panel alignment. Appraisal reports can also indicate where repairs were made.
► When is it not worth repairing minor damage?
If the repair cost is higher than the expected increase in resale value, it may be better to sell the car as it is. This is often the case with older or lower-value vehicles.